A filtered dataset is a subset of form submissions data that fulfills certain conditions set by the user. They are useful when you want to share a dataset with other people, but would like to keep certain fields or records private.
Filtered datasets allow you to select certain fields from the data you’d want to show, enabling you to hide data such as names or sensitive details. You can also filter responses so records only appear if specific answers show up.
Access to filtered datasets works the same way as regular datasets within a project. You can save it to a different project than the original parent dataset and control who has access to the data.
Creating a filtered dataset
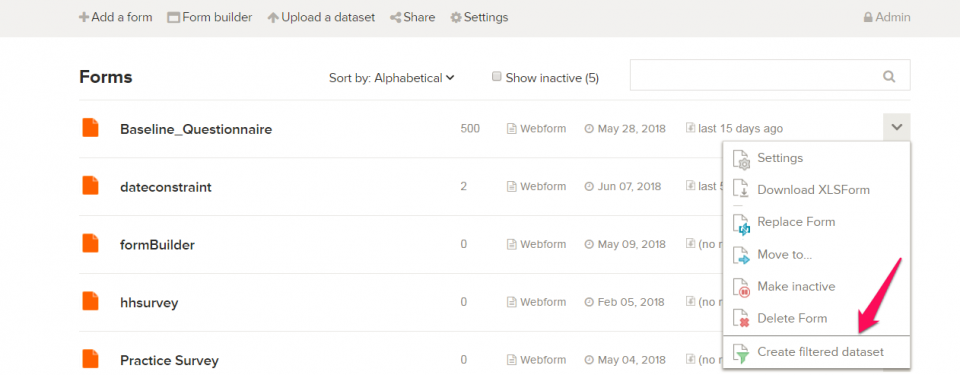
Filtered datasets can be created from a form (with submissions) using the Create filtered dataset option in the form’s dropdown menu. Below are the steps to follow to create Filtered Datasets:
- Locate the form you would like to create a filtered dataset for on your Project page. Click on the dropdown menu next to the form and select Create filtered dataset.
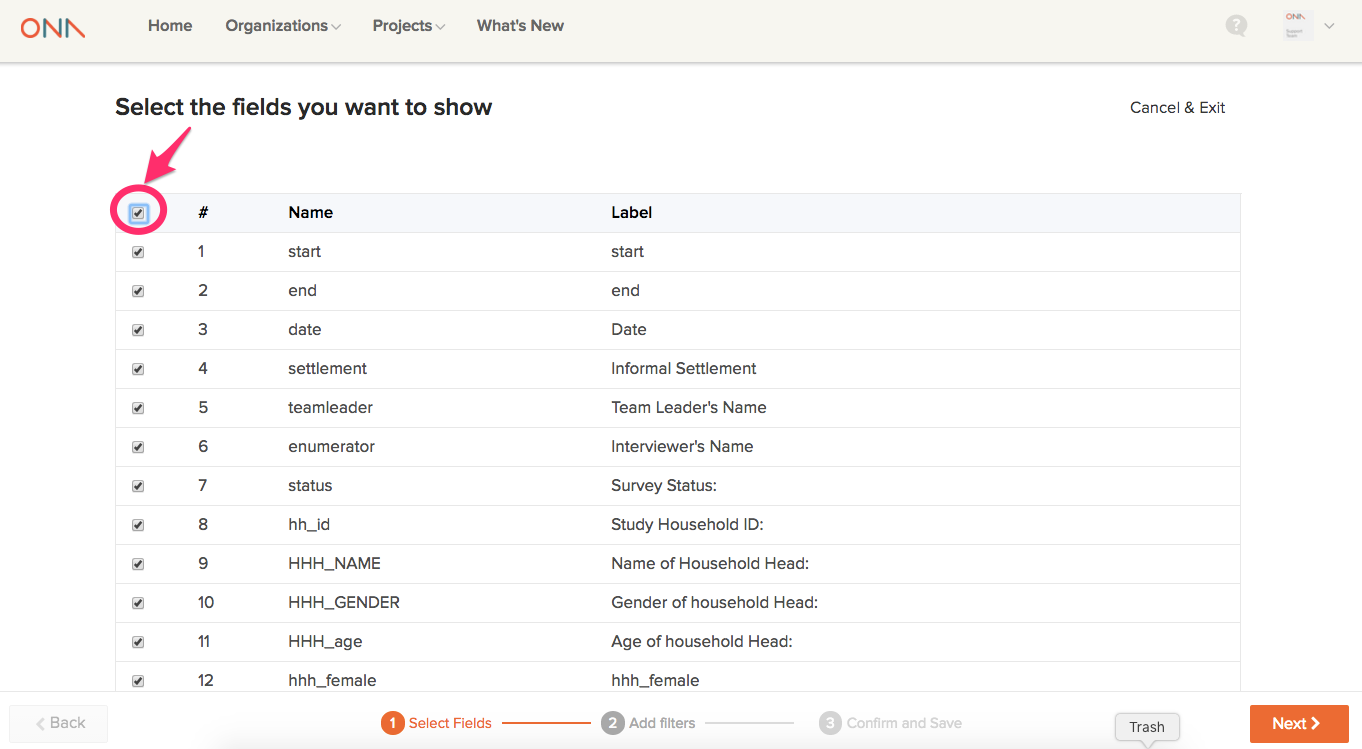
- In the create filtered dataset wizard, select the fields you want to show by ticking the checkboxes to the left of the fields. Click the checkbox above your fields to toggle All fields. Leave the checkbox unchecked in fields that you want to hide in your filtered dataset.
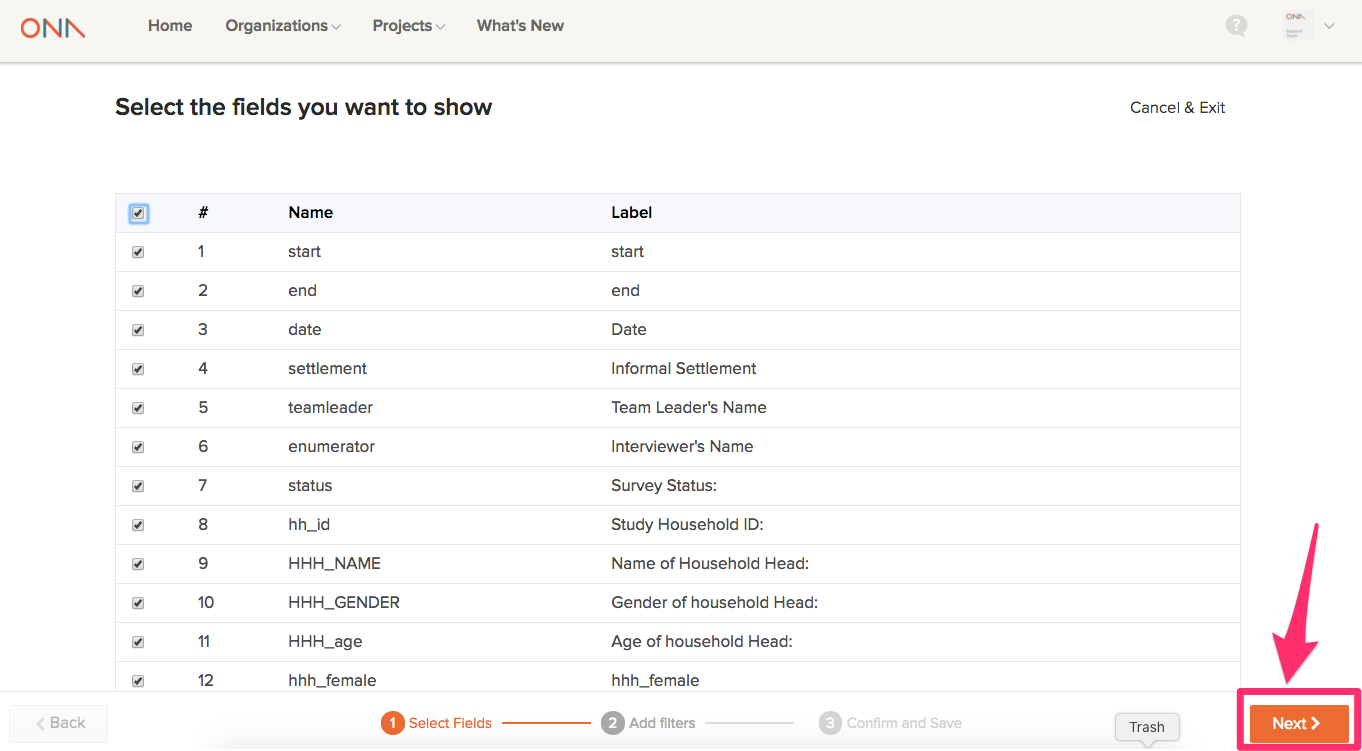
- When you are done selecting which fields you want to show, click the Next button at the bottom.
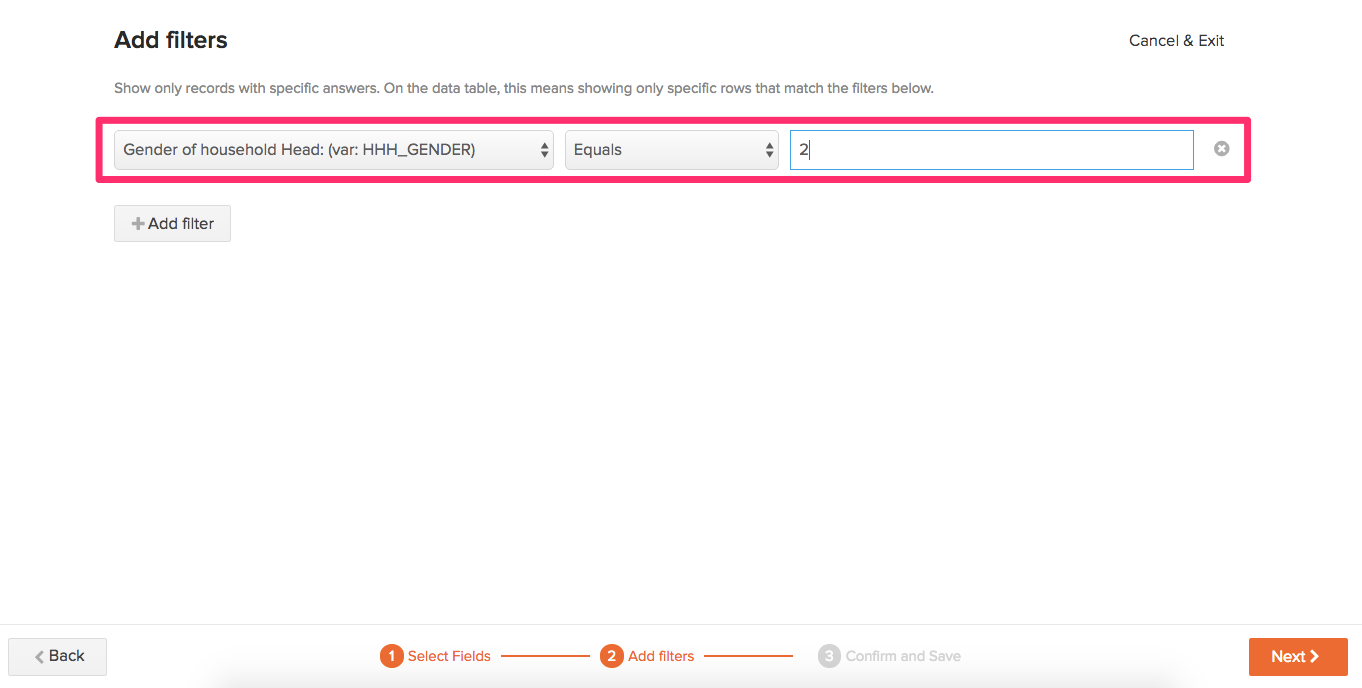
- In the next step, you can Add filters to show records that match specific answers to fields. For example, if you have a field for “Gender of the household head”, you can add a filter for “Female” (in our dataset, the option “Female” is represented by the variable name “2”) so that only records that answered that field with “Female” show up in the filtered dataset and records that have the answer “Male” are hidden. There is more information on this step below in the How filters work section. Click the Next button when you are done adding filters.
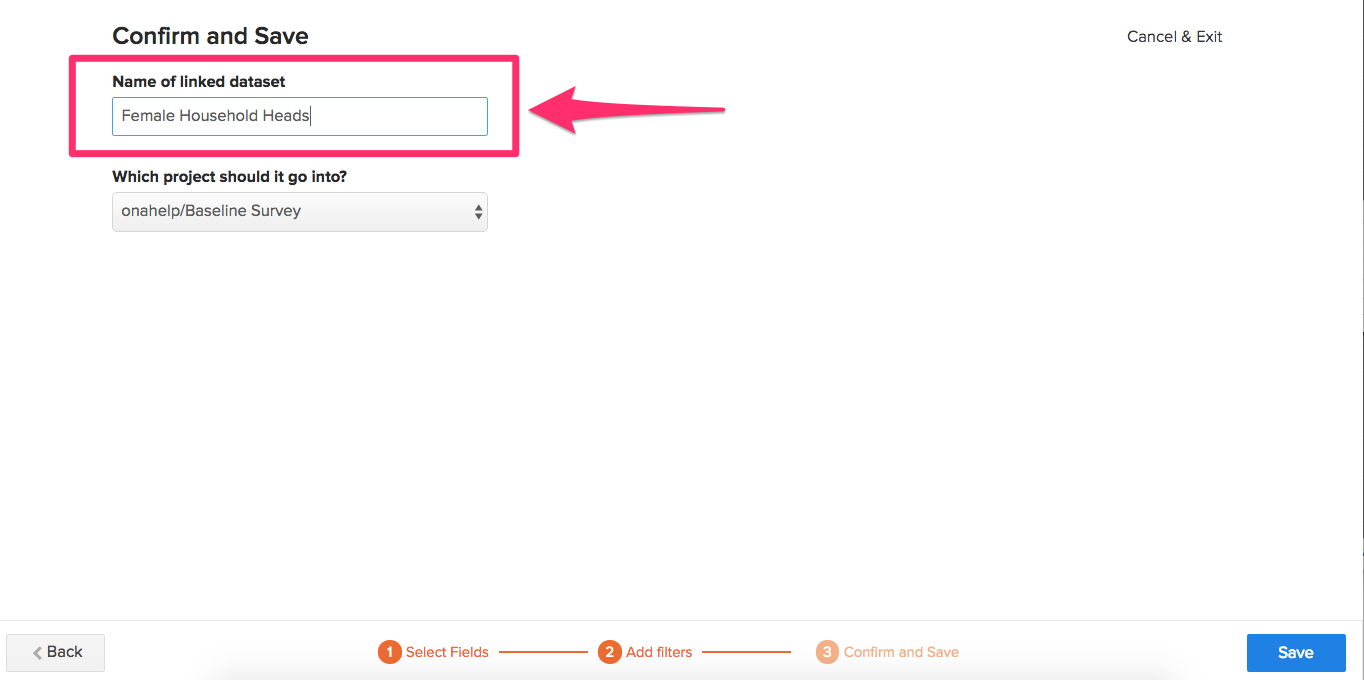
- To Confirm and Save your created filtered dataset, enter the Name of linked dataset in the textbox.
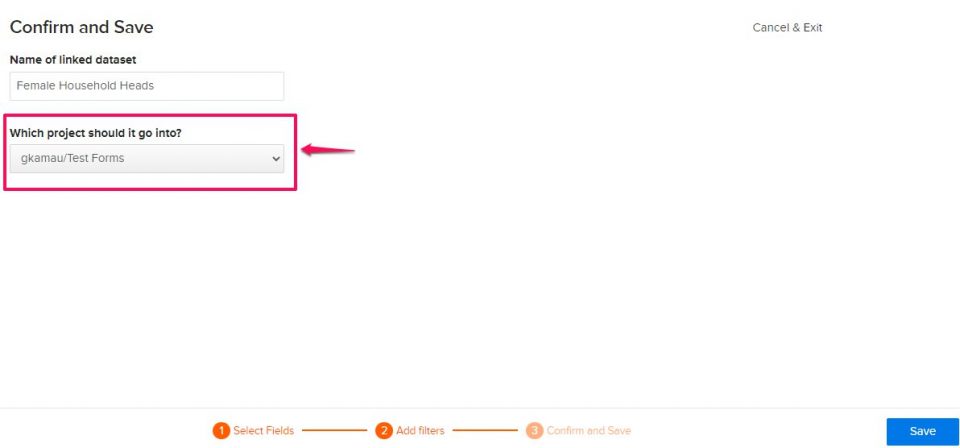
- From the Project dropdown menu, select the project you’d like the filtered dataset to be placed in. If you’d like the filtered dataset to be placed in a different project than the original parent dataset, select the project from the New Project dropdown.
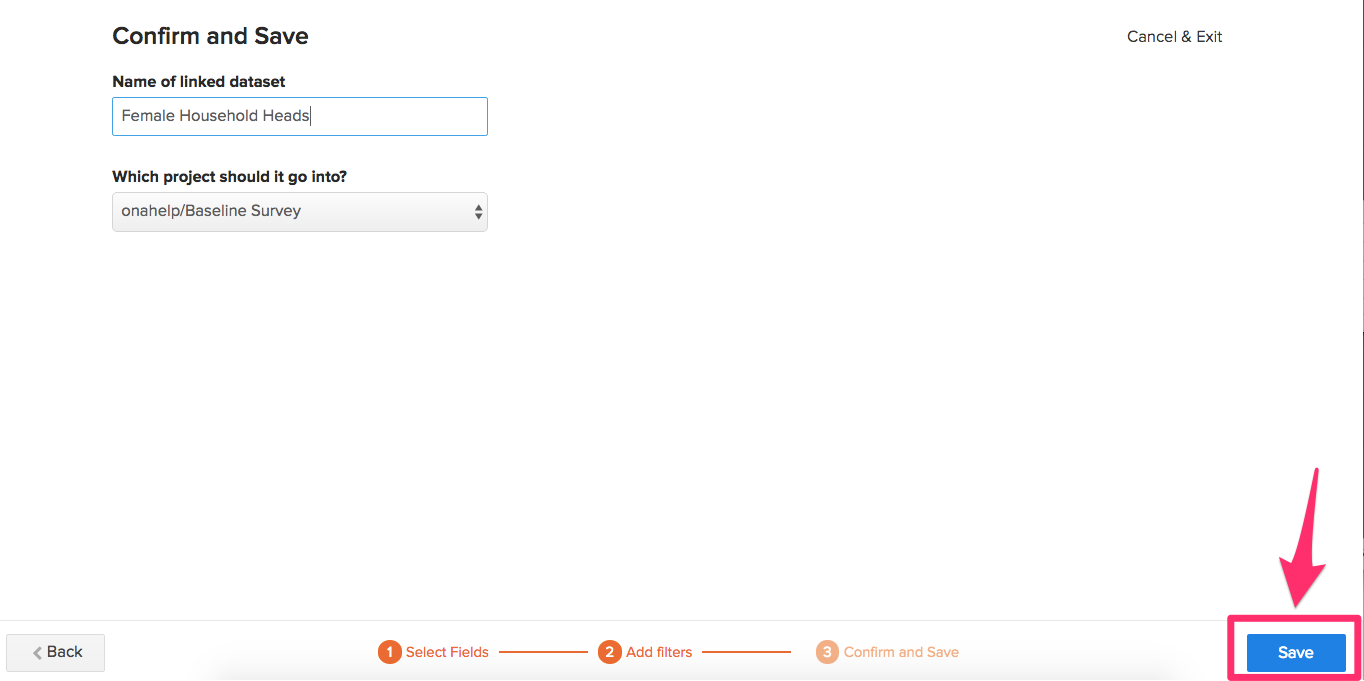
- Once you’re done click on the Save button.
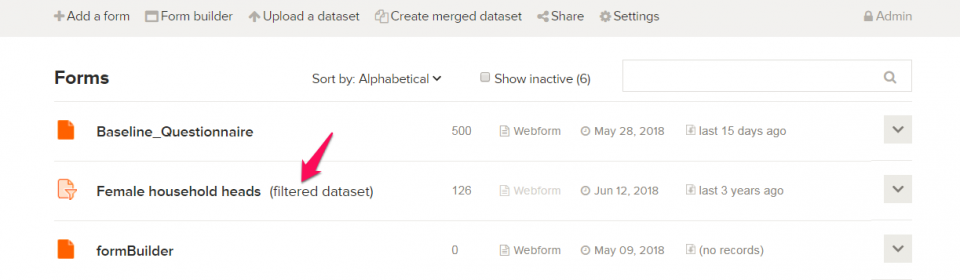
- You should see a label with the text filtered dataset next to your created filtered dataset. The created filtered dataset can be accessed in the project it is in.
Note:
- A filtered dataset inherits the same permission settings as the project it is in. The permissions of the parent dataset do not impact the permissions of the child filtered dataset.
- If you choose to hide fields in a filtered dataset, editing records in that filtered dataset will be disabled for all users. Read more about why in the When editing becomes disabled… section below.
How filters work
Filters in filtered datasets allow you to show only records with specific answers. In other words, if you were viewing the data table, only specific rows with fields that match your filter would show, and rows that do not would be hidden.
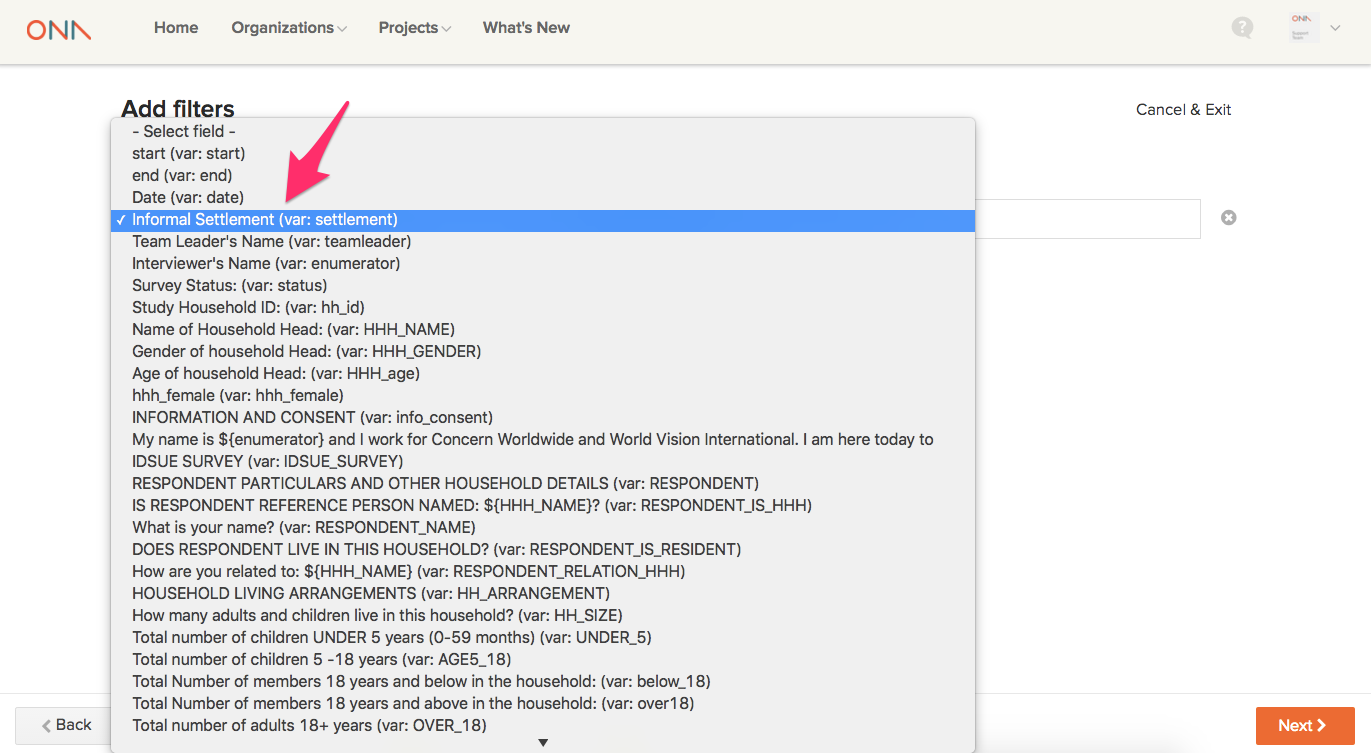
After selecting the fields you want to show (step 3 above), navigate to the Add Filters page. To add a filter follow the steps below:
- Select a specific field from your dataset on the Select Field drop-down menu, e.g.Informal settlement
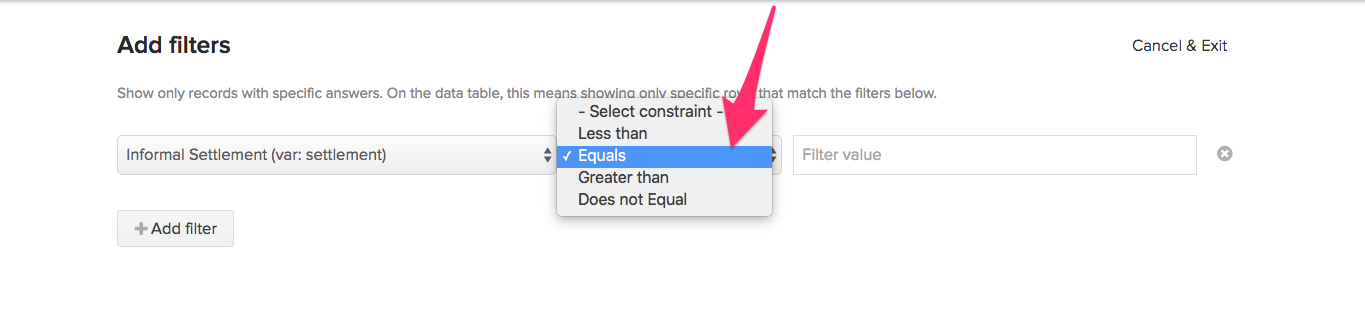
- From the constraint list, select a Constraint. The constraint selected varies based on the type of question. For instance, if it’s a text field, then a constraint like Equals can be selected. For integer fields a constraint such as Greater than or Less than can be selected.
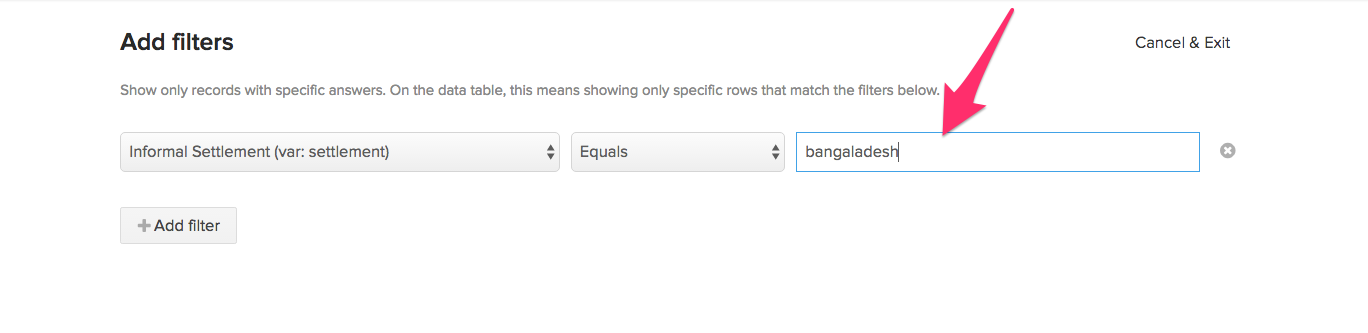
- Enter the Filter value in the text box and click the Next button to create the filtered dataset;
Note:
You can add more filters by clicking on the Add Filter button.Where multiple filters have been added, records are displayed if they meet at least one filter criteria. This means the filter criteria are combined using an OR operator and not an AND operator.
Adding and editing records in filtered datasets
Records in a filtered dataset are not actually new but are duplicate records — they are the same records of the parent dataset with hidden information. For adding and editing records, this has a few implications:
- For new records: records cannot be added to the filtered dataset, they must be added to the parent dataset. Otherwise, there is a chance that the new submission won’t match the filters of the filtered dataset. A user must have Can Submit or greater permissions on the parent dataset to be able to add new records to the parent dataset.
- For editing records: when those records are edited from the filtered dataset, the data in the parent dataset is changed. Therefore, all of the “child” filtered datasets of the parent dataset will reflect the changes.
When editing becomes disabled in a filtered dataset
Filtered datasets are a helpful way to share information without compromising private data. However, because Ona data is form-based, data editing is implicitly tied to the form. This means editing data is done through the form which must be shown in its entirety due to technical reasons — which in turn means editing data must be disabled when fields are hidden in order to ensure privacy permissions are upheld.
Note:
XLS Reports are not yet supported for filtered datasets, hence the XLS Report link is disabled on filtered datasets.