Media Files Export
If your form includes an image, video, or audio recording question, these files will be uploaded to the server along with your other data. When exporting your dataset in CSV or Excel formats, these files will include links to the filenames of the media attachments, but not the files themselves.
Downloading media files
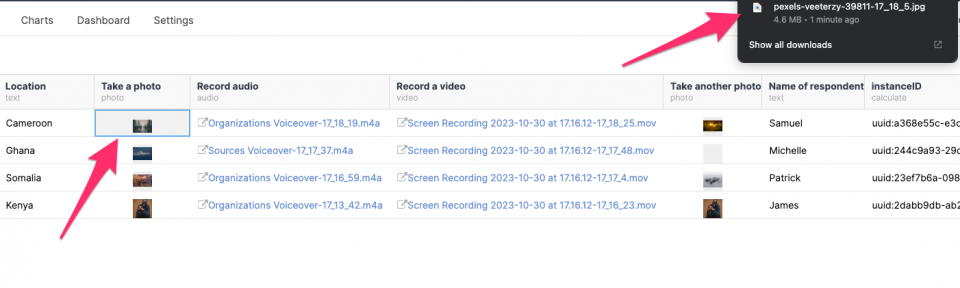
To download a single media file, navigate to the form’s Table view then click on the file link and the file will download automatically.
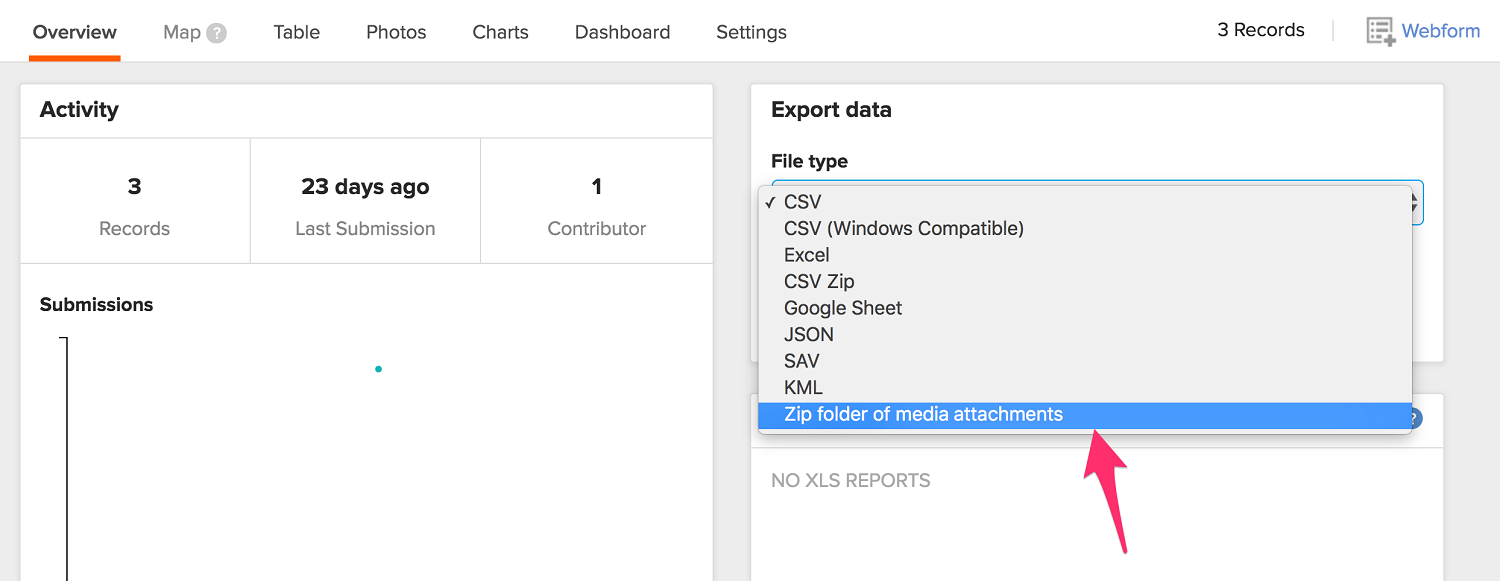
You can download all the media files in one folder by selecting the ZIP folder of media attachments option under the Export data section of the form’s Overview page.
For a large number of collected media files, you can use ODK briefcase to download the files quickly.
Export media files using ODK Briefcase
When you have more than 100 media files in your form, downloading media files as a zipped folder of media files from the export section will fail. Because of this, we recommend using ODK Briefcase to export data together with media files.
You can read here how to download and install ODK Briefcase.
After you have installed ODK Briefcase,
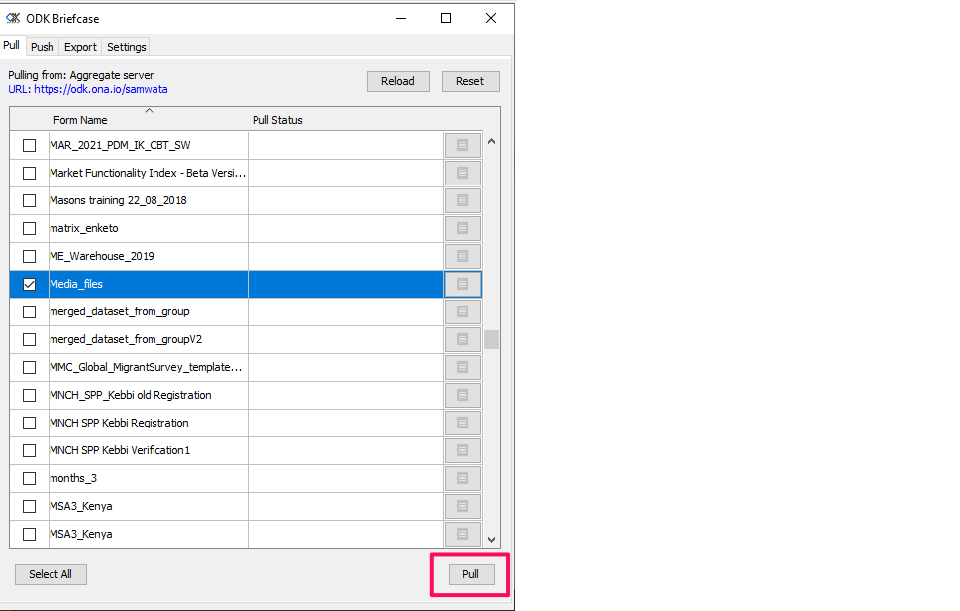
- Configure ODK briefcase with your account – You will go to the PULL tab and click on configure to configure your account to ODK Briefcase.
URL: https://odk.ona.io/your_ona_username
Username: Your Ona username
Password: Password you use to log into Ona - Click on Connect to connect to your account and all your forms will display on the list as shown below. Click on the box to check the form you want to pull data from and click on the pull button.
3. Submissions will pull and you will get a success message. If you get any other message, go to this documentation and check the meaning of different messages.
4. After you have successfully pulled the submissions, go to the Export tab and the form you pulled will appear. Click on the gear icon to set the export directory and then click Ok.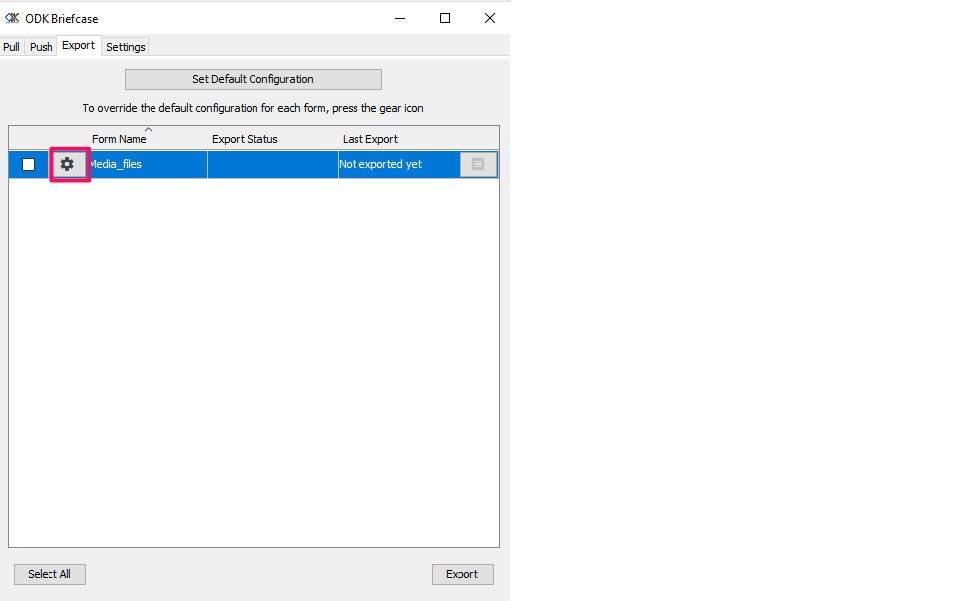
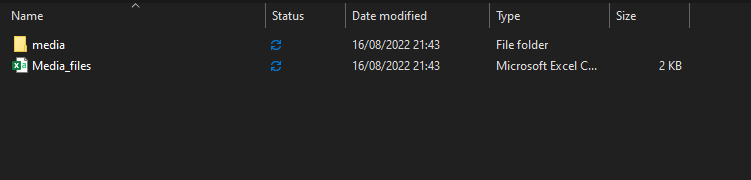
5. Now check the checkbox on the form you want to export and click on Export. The data will be exported together with media files and all media files will be stored in a different folder called media created under the same directory as data export. Media file names will be saved with the same name as they appear on the table tab or exports.