What is an organization?
An organization account on Ona allows you to better organize and manage your group-owned projects and data. Org accounts have advanced permission levels over individual accounts. This means an org admin can add other members to the organization and share admin privileges with them, or they still have the option of maintaining access privileges at the project level, by assigning individual collaborators to one project at a time.
Org accounts are a great option for international organizations that implement projects in multiple countries or regions or for companies that simply require better data management and access controls for members of their teams. A user can even manage multiple organizations from a single Ona account, obviating the need to maintain separate accounts for each project.
Note:
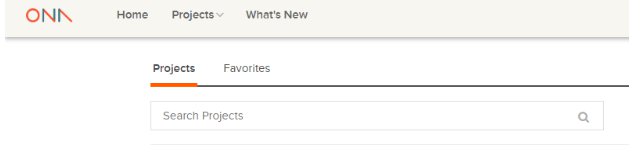
Please note that when you are not added to any organization, the Organizations tab will be hidden. The tab will show immediately you have been added to an organization account or when you create an organization account.
Creating an organization
You need a personal Ona account to create an organization account. After logging into your personal account, to create a new organization account, click on the New Organization option from your account dropdown menu.

Note:
Whichever account you are currently logged in to will be the new organization account owner.
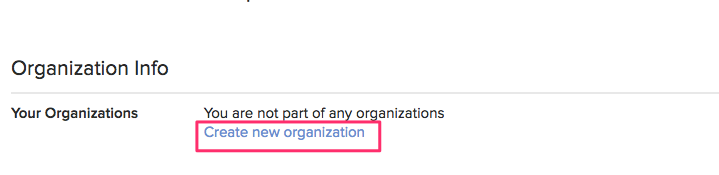
You can also create an organization account from your Plan tab on your Settings page by clicking on the Create new organization link under the Organization Info section.
Enter the name, username, and organization billing email of your new organization account, then click on Continue.
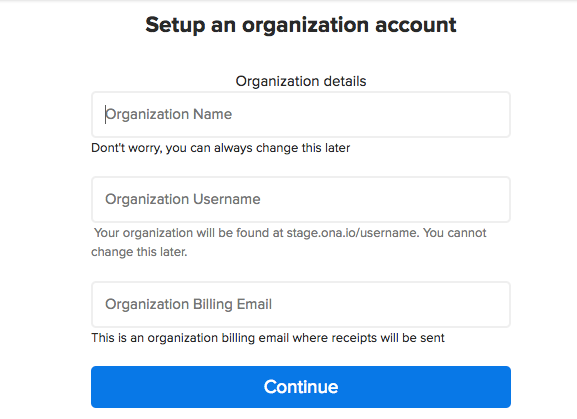
The org username will be used in the URL. We suggest something that is short, like a Twitter handle.
The organization billing email is the email address to which all the emails regarding the organization account will be sent. This includes payment invoices and emails on failed payments among others.
Clicking on Continue will redirect you to the subscription plan page. Choose the Free plan if you do not want to subscribe to a paid plan. Then, click on the Continue button.
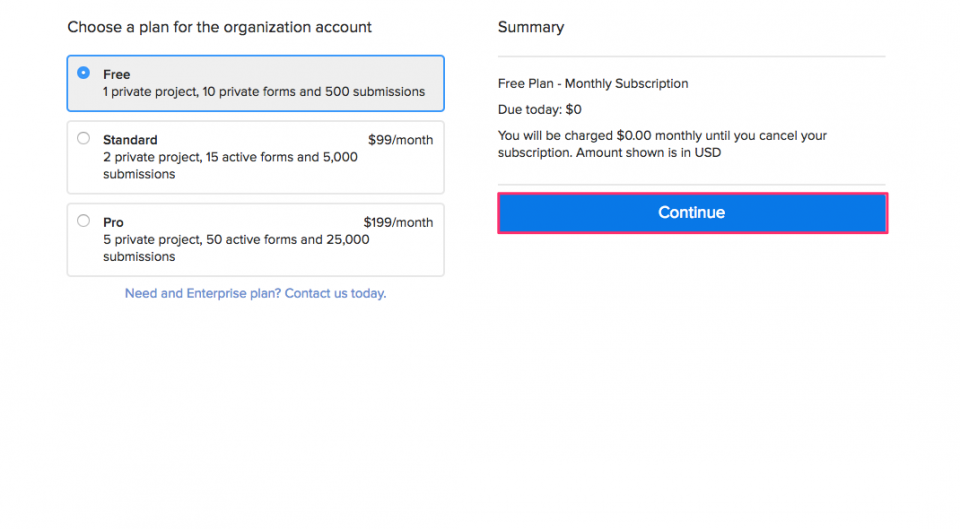
Note: If you would like to purchase a paid plan, please see the Purchasing a Plan in Upgrading an Account.
This will redirect you to your personal account home page.

Access your organization account
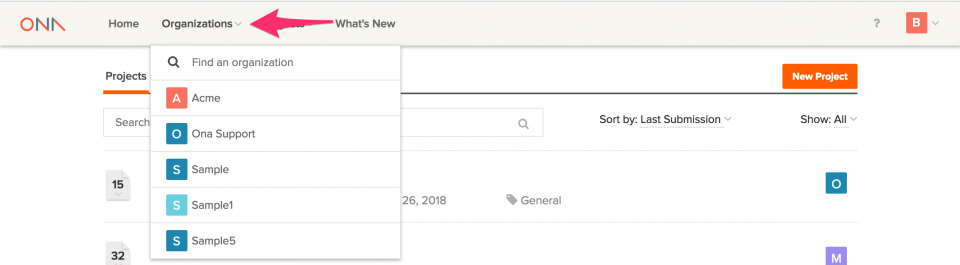
From your personal account home page, you can access your newly created organization account by clicking the Organization drop-down and selecting your organization.
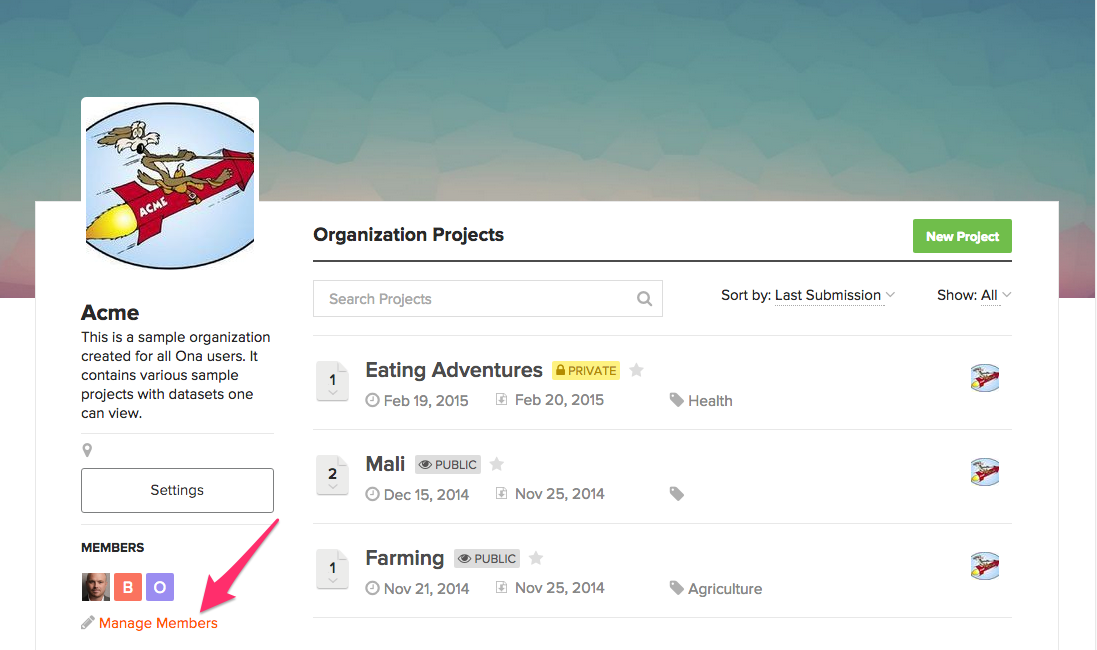
This will redirect you to your organization’s home page.
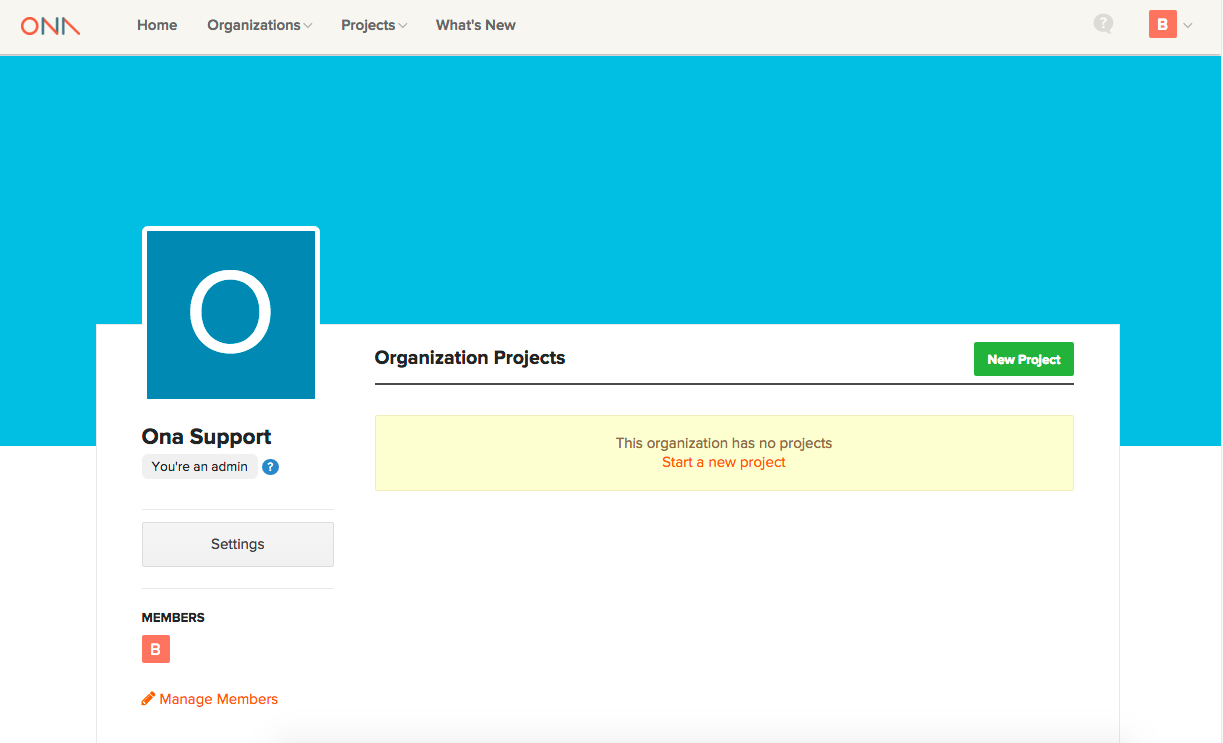
As an org admin, you have full access to all of the organization settings. Some steps to get your new org set up are:
- Update your org settings, including adding an org avatar and background image;
- Add members to your organization through the Manage Members button from the organization home page; and
- Create your first data collection project and start collaborating with other users.
Organization settings
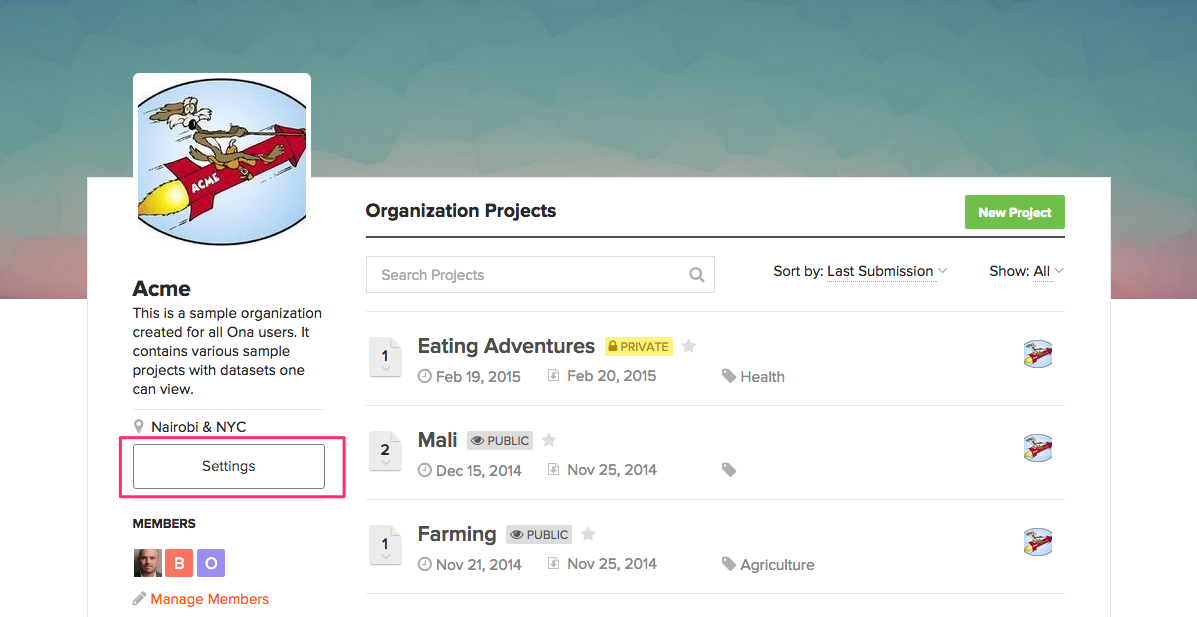
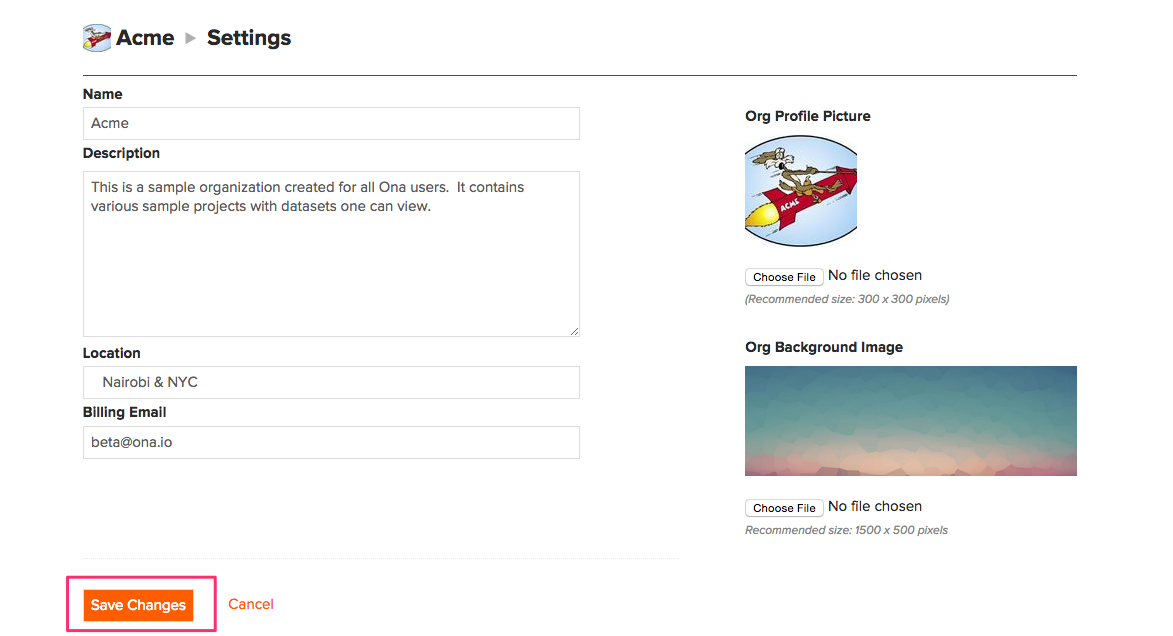
The Organization Settings page is where all the information about the organization (org profile picture, org name, description, location, etc.) can be added.
- To navigate to the Organization Settings page, click on the Settings button from the org home page;
Note:
If you do not see the Settings button, it means that you do not have permission to access the page. Only an org Admin can access this page.
You can also click on the Edit Image button to go to the Org Settings page, where you can upload a new background image:

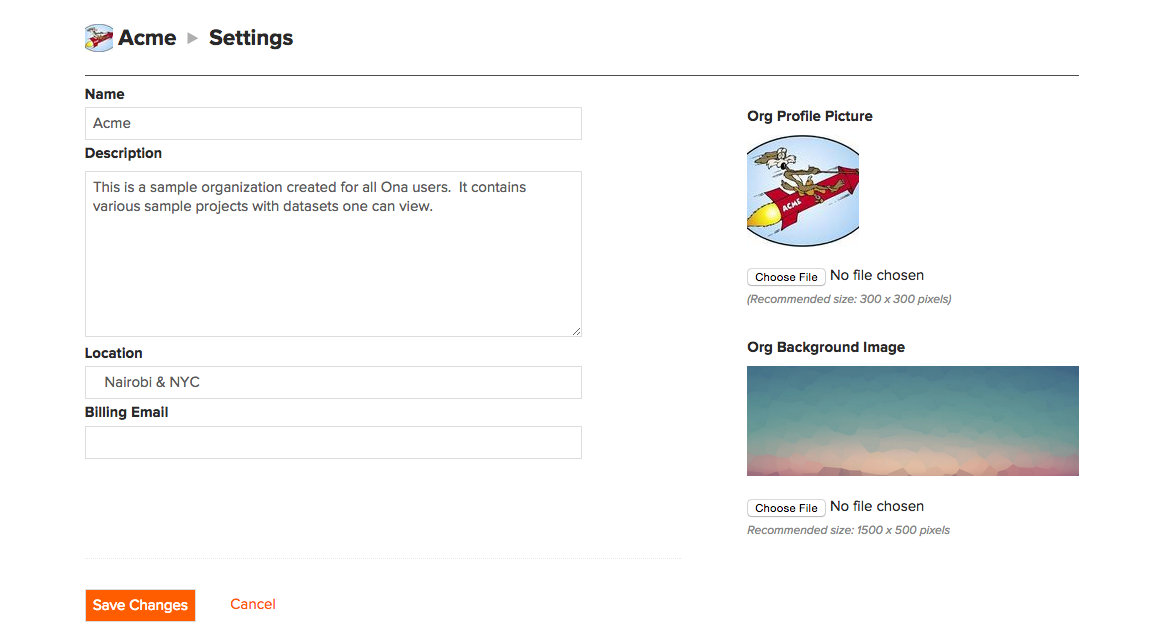
- Update the Name; provide a short Description (up to 160 characters), add an Org Profile Picture and an Org Background Image;
Note:
The recommended size for the Org Profile Picture is 300 x 300 pixels, and the Org Background Image recommended size is 1500 x 500 pixels.
- Click on Save Changes when finished;
Organization Members
How to add organization members
Organization members are other Ona users who have been added to the organization by an org admin and have access to the projects within the org account.
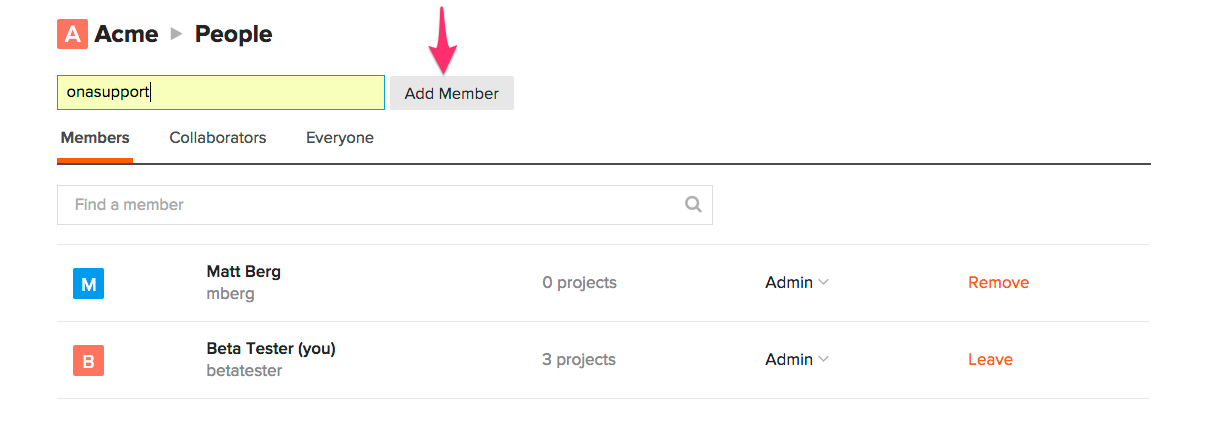
New members of an organization fall into one of three org roles. Org admins can add new members and assign them roles on the member list page by typing their Ona username in the top-left search bar.
Note:
To be added to an organization, a member must have an existing Ona account. We do not support sending member invitations to join at this time. Read more on signing up for a new account here.
To add members to your organization:
- From the organization home page, click on the Manage Members link on the left side of the page;
- To add a member, enter the member’s Ona username in the top left box and click the Add Member button. Once added, the new member will appear in the Members list below. If you do not see a text box to add members, you do not have permission to add members.
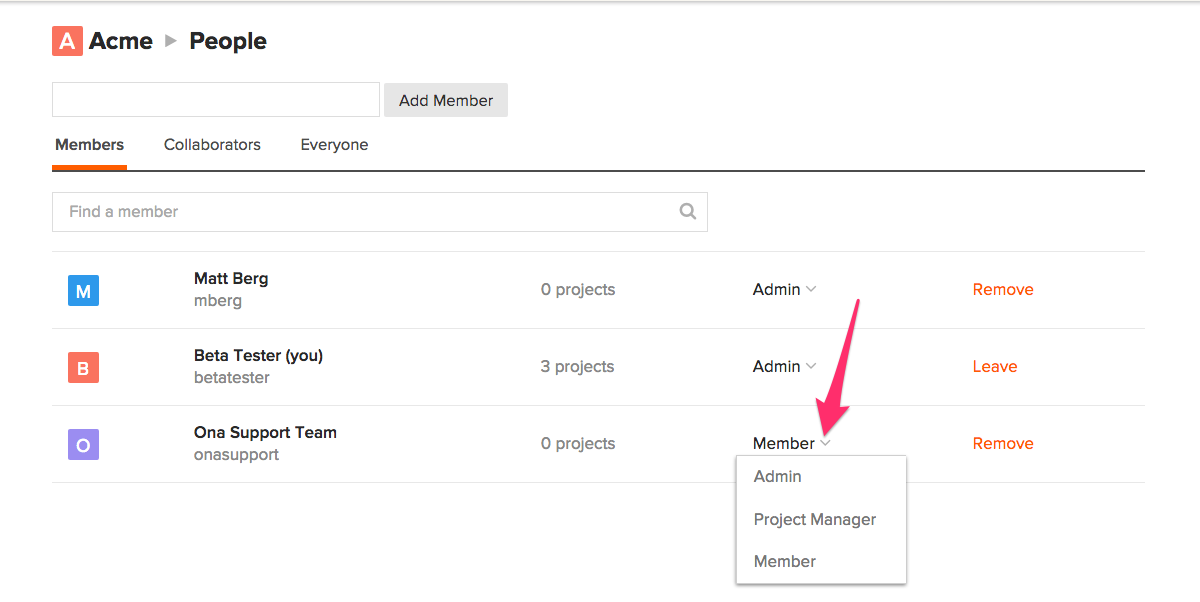
- New members will automatically be assigned the Member role. Click on the dropdown next to the member to change their role as shown in the screenshot below. Organization roles and their permissions in the organization are explained in the Organization member roles section below.
Note:
To learn more about how org members differ from project collaborators please have look at this post.
Organization member roles
The three organization roles are Admin, Project Manager, and Member. By default, the user who creates the organization is granted the Admin role.
Note:
An organization can have more than one admin.
The following table shows the three organization roles and what permissions each role has:
| Org Admin | Project Manager | Org Member | |
|---|---|---|---|
| Can add and remove members in the org and change the role of any member except self | x | ||
| Can change org settings | x | ||
| Can transfer org account | x | ||
| Can delete the org account | x | ||
| Has admin permissions on all org projects | x | ||
| Can create projects in the org | x | x | |
| Has admin permissions only on org projects they create | x | ||
| Has member-level permissions, as stipulated by a project admin, on org projects they did not create | x | ||
| Can view the org member list, but cannot make any changes | x | x | |
| Cannot access org settings | x | x | |
| Has member-level permissions to all org projects as stipulated by a project admin. | x | ||
| Can leave the org | x | x | x |
In addition to the three organization roles above, a user can also be added individually to a project within the org and become an organization collaborator. An organization collaborator is a user that is shared on an organization project but isn’t part of the organization. When viewing the organization home page, organization collaborators will see the list of projects that they have been added to and the list of organization collaborators. They will not be able to see the list of organization members, organization settings, or any other projects in the organization.
Removing Organization members
Organization members that are no longer part of your organization and have left can be removed from the organization. This denies them access to projects, forms, and data that should be kept private and should be only accessible to members who are an active part of your team.
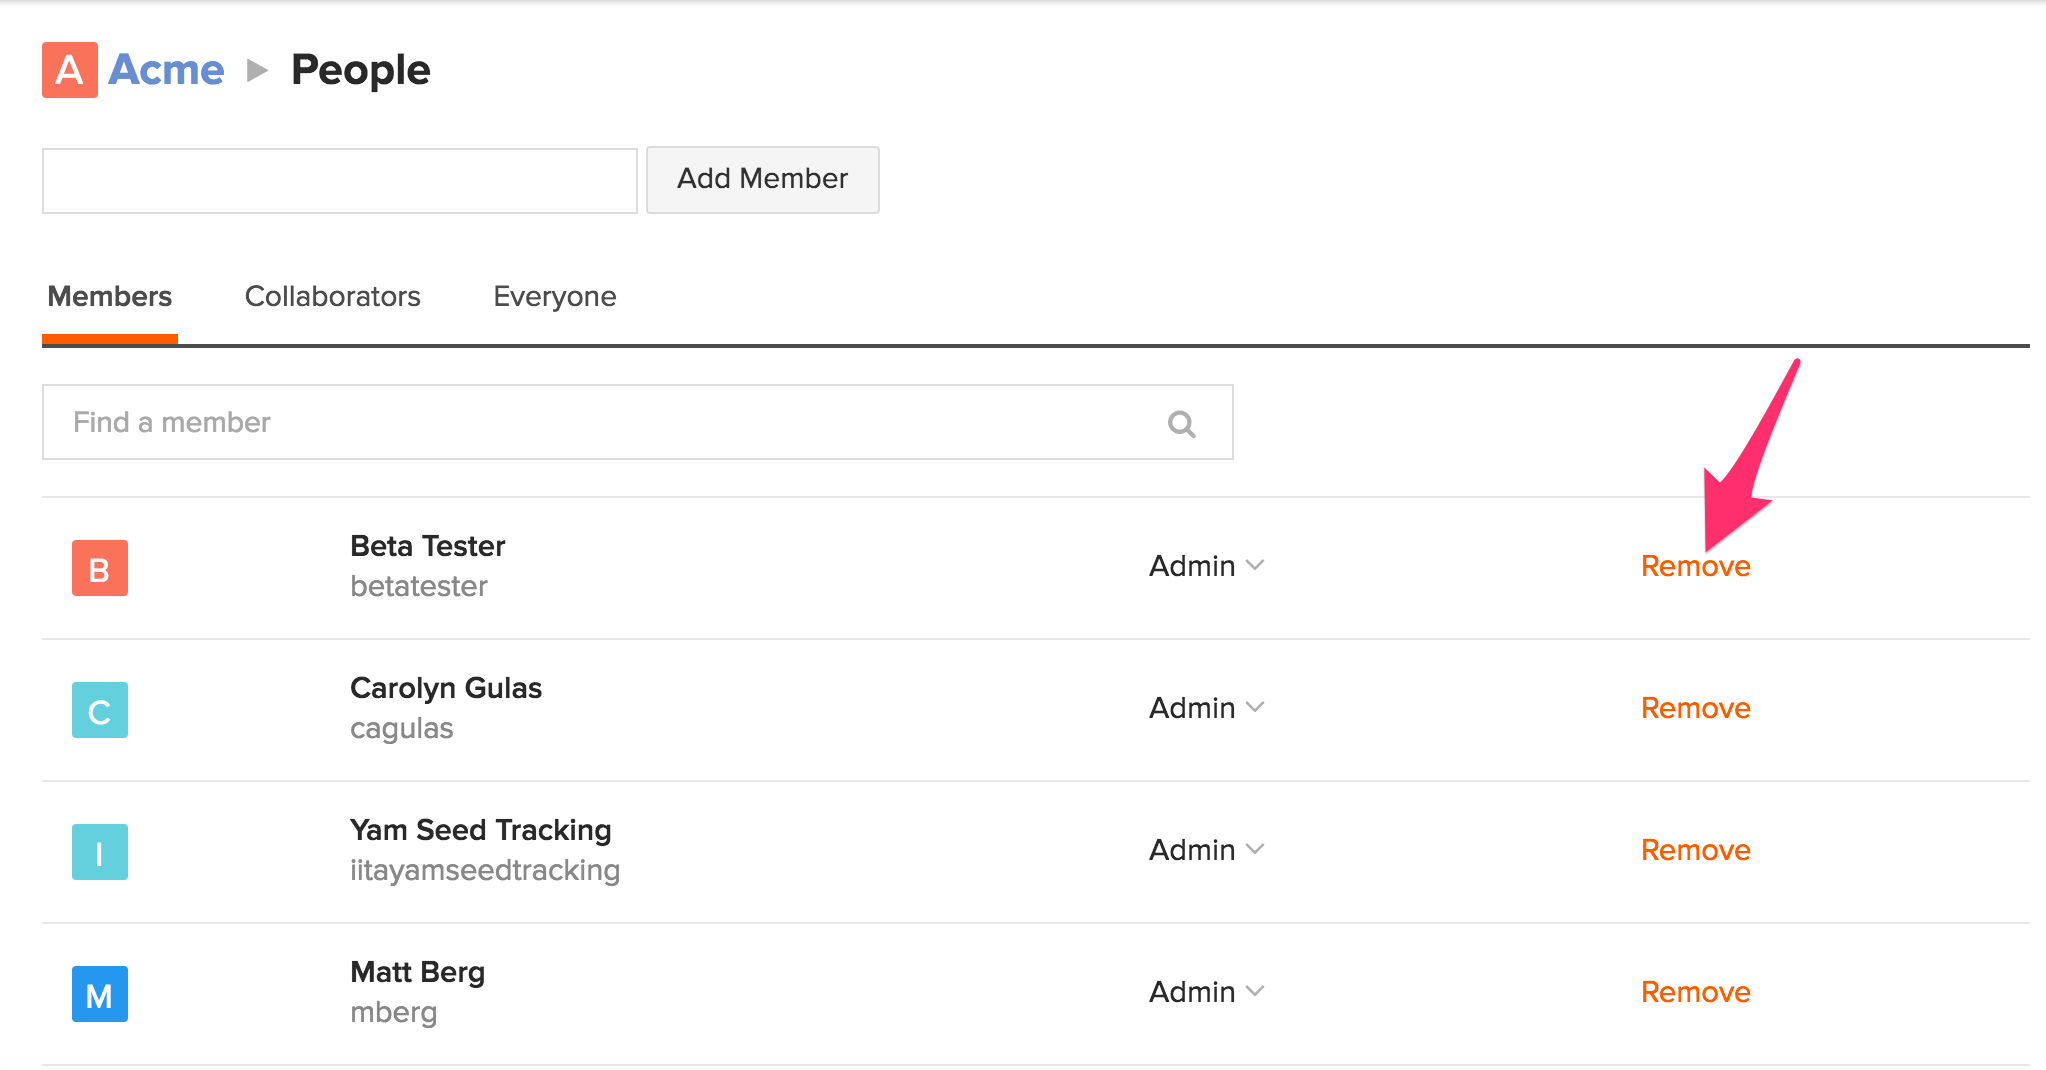
Removal of members from organizations can only be done by an Org Admin. To remove an organization member, Select Manage Members on the organization’s home page.
Find the name and username of the member you’d like to remove from the member’s list on the Org Members page and click on the Remove link.
Leaving an Organization
A member can opt to leave an organization if they are no longer working with the organization.
Any of the organization member roles can leave an organization. However, an Org admin is not allowed to leave an organization if there’s only one Org admin within the organization
To leave an organization, click on the Leave link on the Org **Members **page.
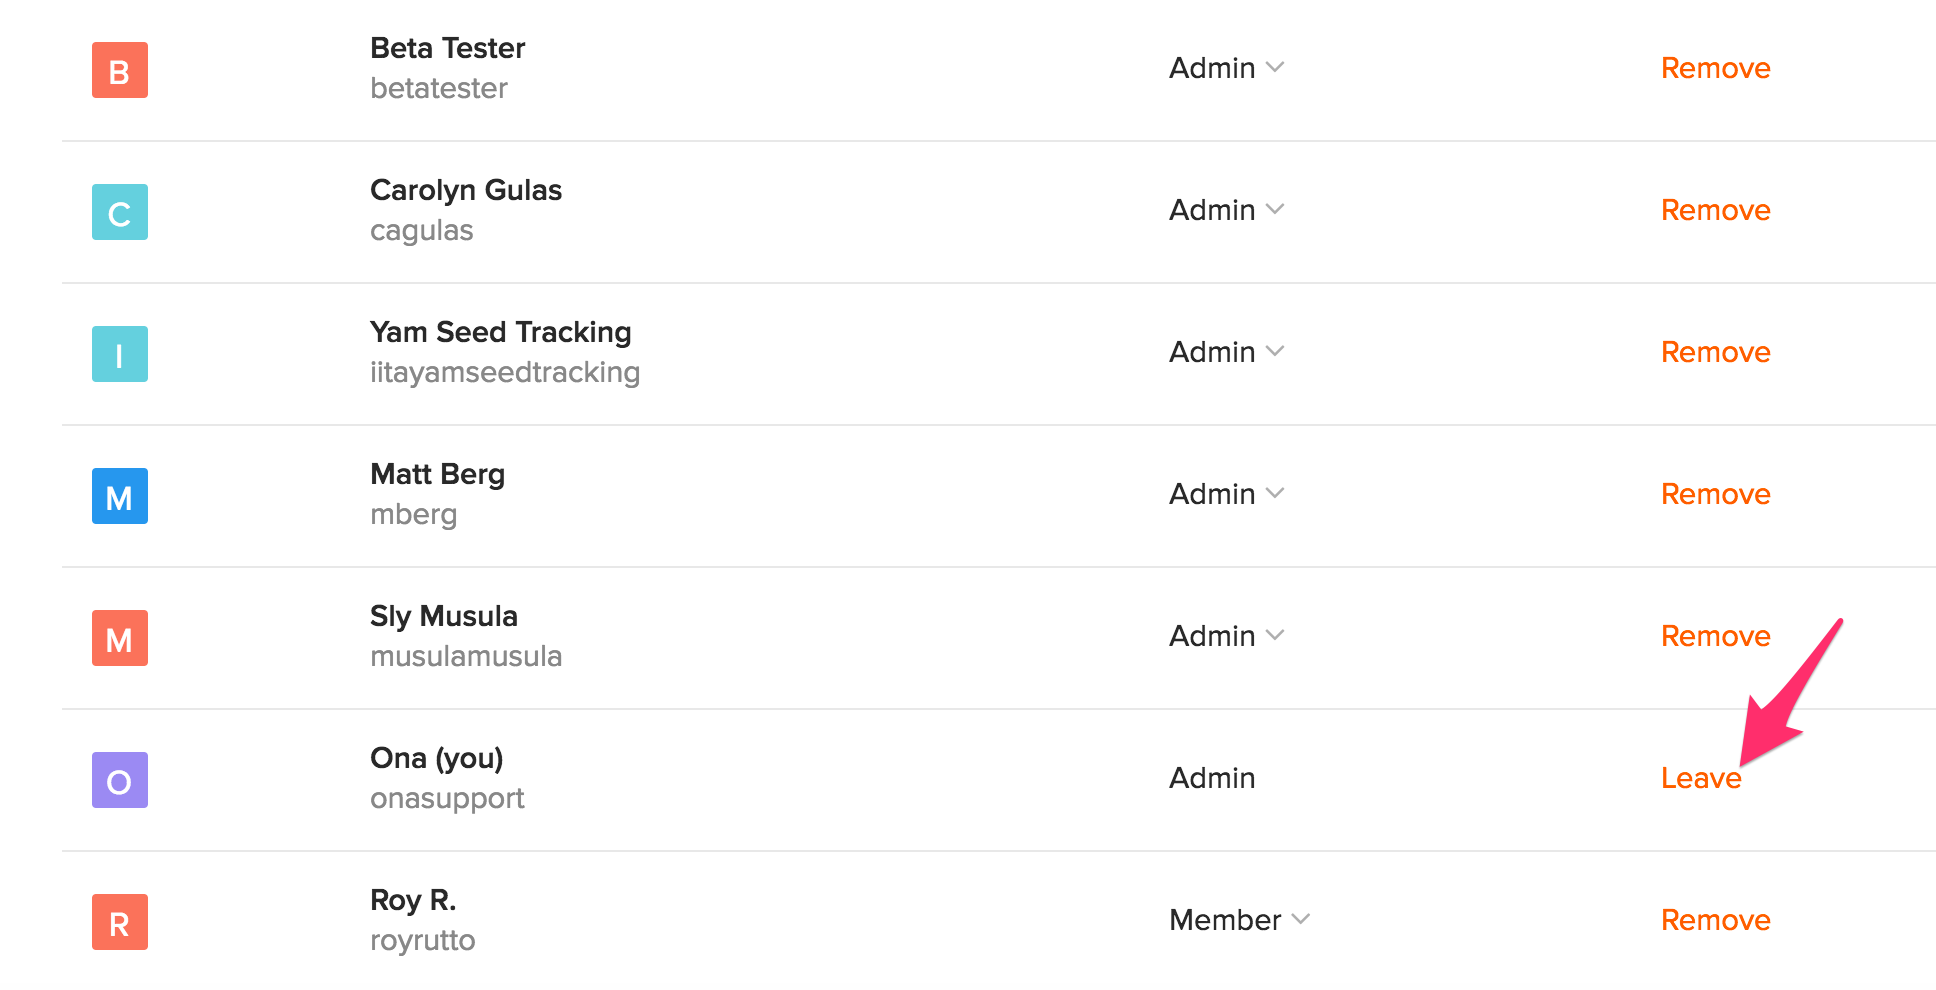
Note:
Once you leave an organization, you lose access to the projects, forms, and data within that organization.
Transfer organization ownership
To make someone else the owner of an organization account, you need to make sure there’s at least one additional org admin and make sure Ona has updated billing information.
- If you are the only admin of an organization, you won’t be able to leave the organization until there is another admin member. Add a member and change that user’s role to Admin.
- Email the other admin user(s) to check if they have access to admin settings for the organization.
- If you are the main contact with Ona and handle billing, email Ona Support to make sure they have the contact’s information so billing and service are uninterrupted.
Organization Projects
Creating org projects
An organization project lives in the organization account and will contain all of the forms and data related to the project.
To create an organization project:
- From the organization homepage, click on the New Project button;
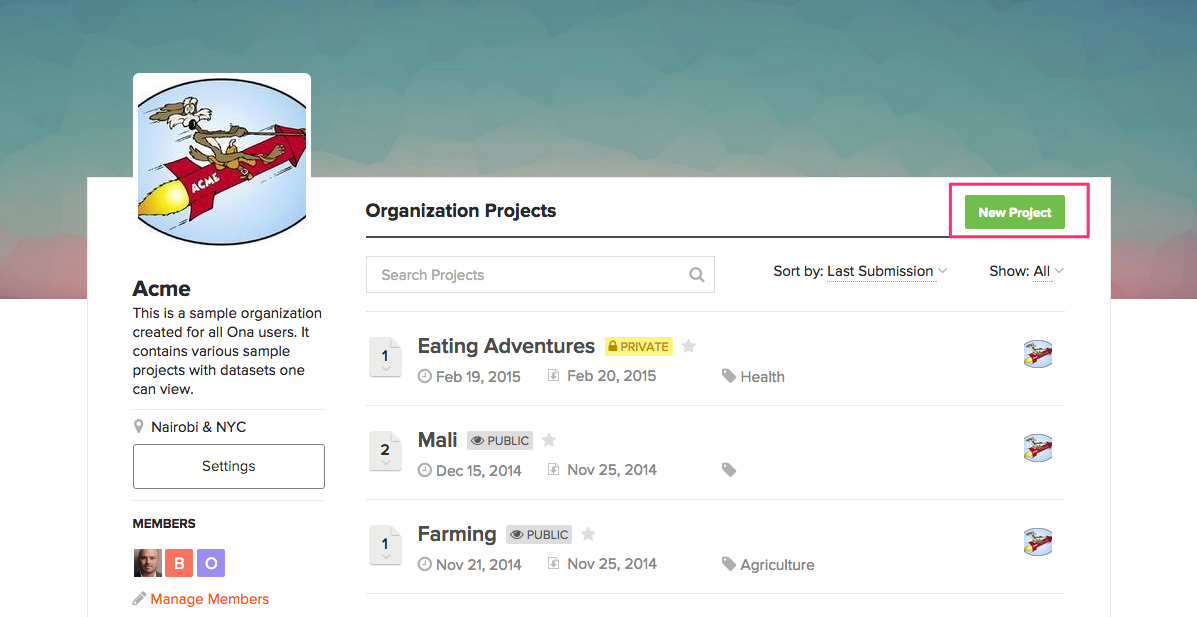
- Follow the instructions provided in the Create a project guide.
Org project differences
Organization projects are similar to projects created in individual accounts, but have several key differences:
- An organization project can have multiple admins (the project creator and all org admins have admin permissions on the project as well as other users who are added individually to the project as an admin).
- In the organization project share modal, the Members in [organization name] group is automatically added, and a project admin can adjust the permissions to the group of org members. This obviates the need to add each org member individually to each project.
- In addition to the regular project permission levels, a project admin can also select Cannot view role for the Members in [organization name] group.
- An organization project will not show up in an individual’s home page project list unless he or she is specifically added to the org project’s share modal (i.e., you have a specific line in the project share modal and not just part of the org admin or org member group). Similarly, any forms within the org project will not appear in the list of available forms to download in ODK Collect unless you are specifically added to the project with Can submit or higher permissions. This was done so that users have more control over what projects and forms are listed and shown in their own accounts.