Why add a basemap?
A basemap provides background or geographical context for the data you want to display on a map.
Some examples of basemaps include:
- Specialized basemaps that highlight specific types of data (e.g. basemaps for transport or cycle routes);
- Special maps or custom-built maps (e.g. Pirate and Comic maps from Mapbox);
- Aerial or satellite views of houses in a rural area; and
- Neutral maps, which use color gradients to display data (e.g. a population density map or a heat map).
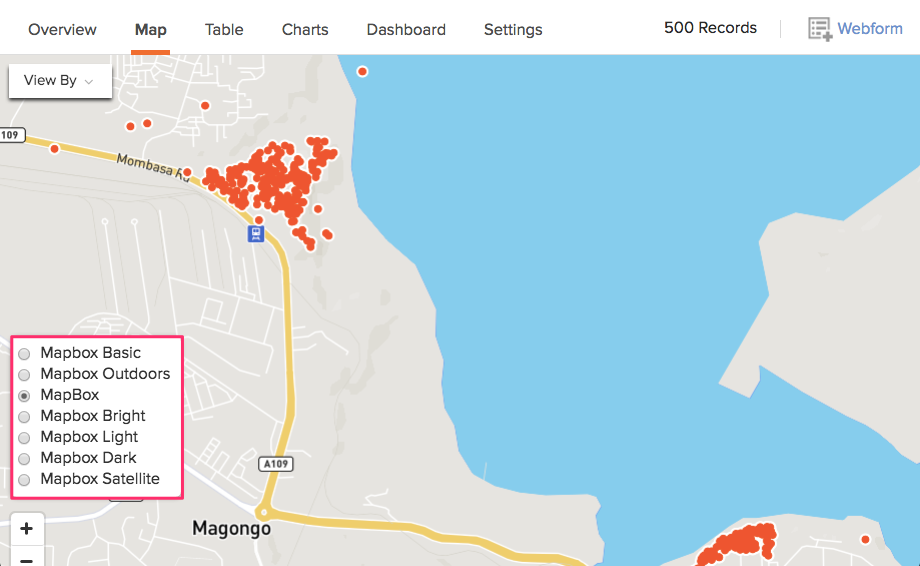
With Ona, it is easy to configure basemaps for your data. On your form’s Map View, you can find several basemaps from Mapbox already added, as shown below:
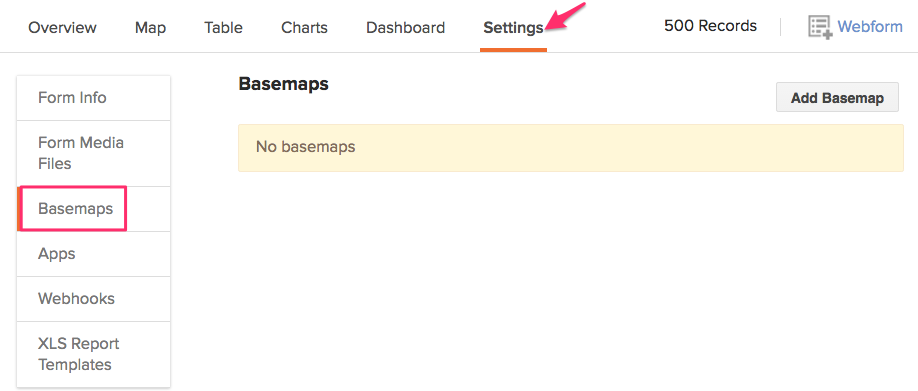
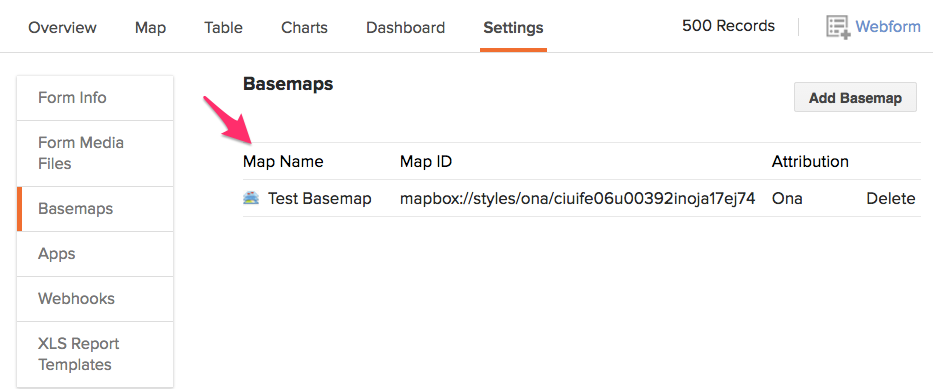
You can also create and configure your own basemaps using a Mapbox account. To add a new basemap to your form from your Mapbox account, navigate to the form’s Settings page, then select Basemaps.
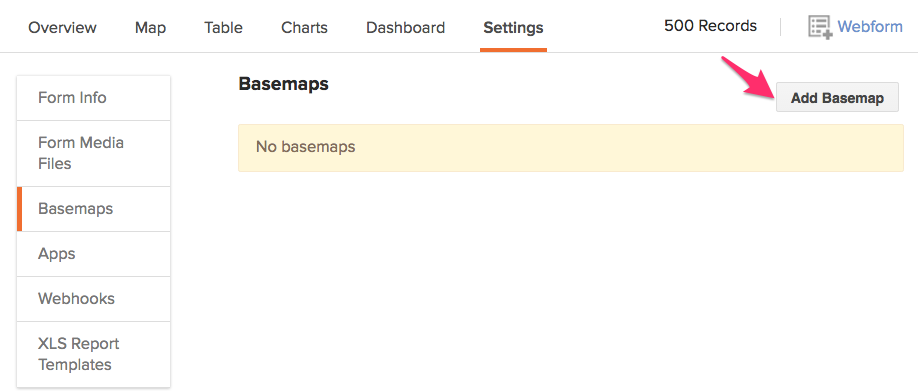
Click on Add Basemap.
This opens the Add basemap window, where you can input the below information to link the new basemap to your data.
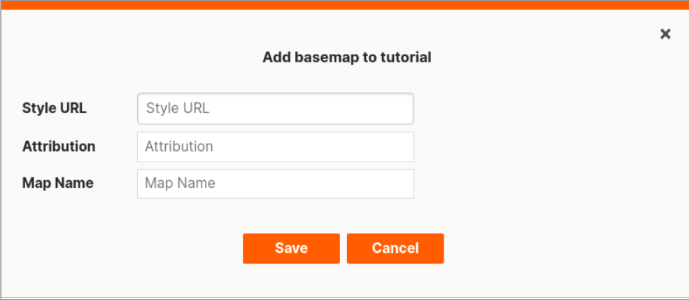
- Style URL – The style URL for the basemap
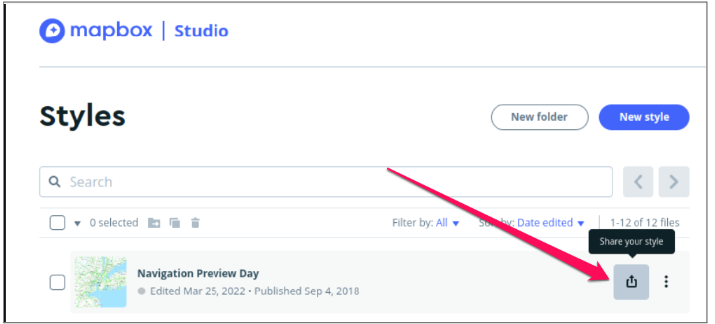
To get the style URL for a map on Mapbox, open Mapbox studio and select the share icon next to the basemap style you want to use as shown below.
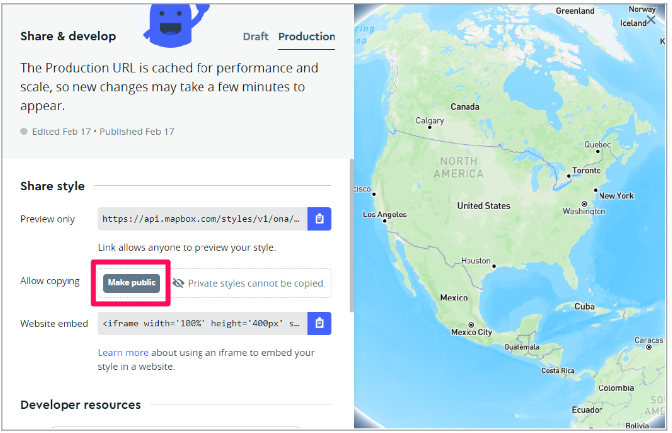
A new page will be displayed with the share style URLs. To use the URL, you will need to make the style public. Click on Public to make the style public, which will allow you to copy the URL.
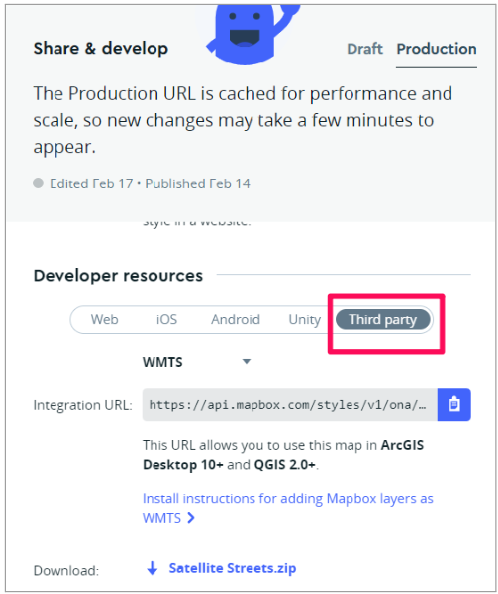
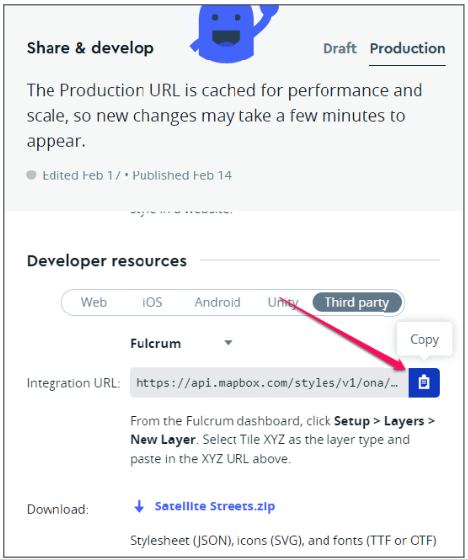
Scroll down to the Developer Resources section, and select the Third Party tab.
Under the WMTS dropdown, select the Fulcrum option
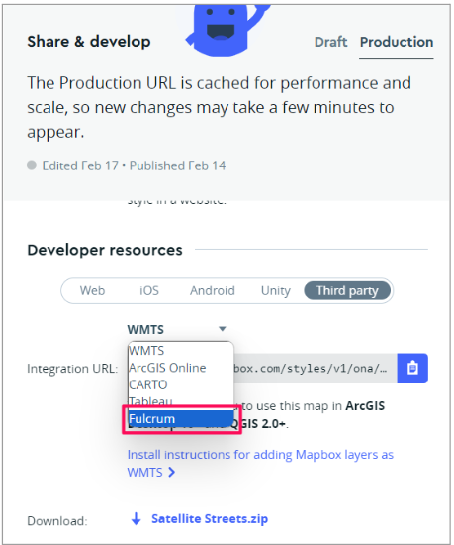
Now you can copy the Integration Style URL to use as the Style URL in Ona. Please note that the access token is integrated into this Integration URL, and no further authentication is required
- Whitelist Ona domain – Whitelist the domain of the platform that you are adding basemaps to (in this case whitelist https://ona.io) as shown in the steps below.
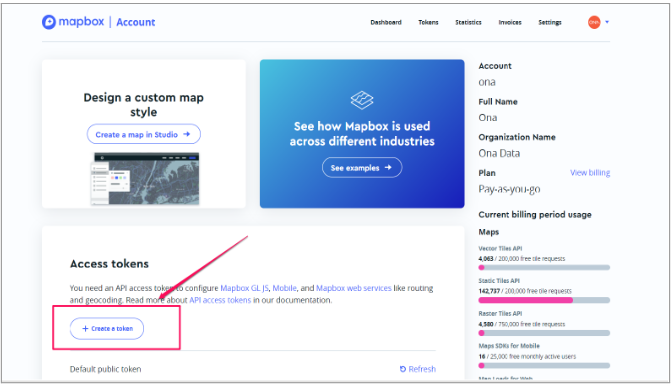
a.) Under account settings, select the Account option from the dropdown.

b.) On the next page, click on Create a Token to create a new token
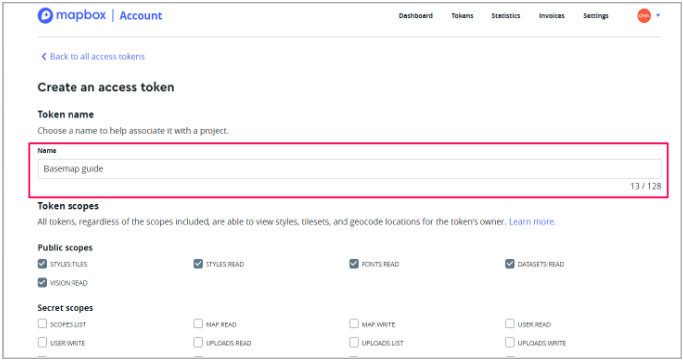
c.) Write the name of your access token. In my case, I have named my token as Basemap guide.
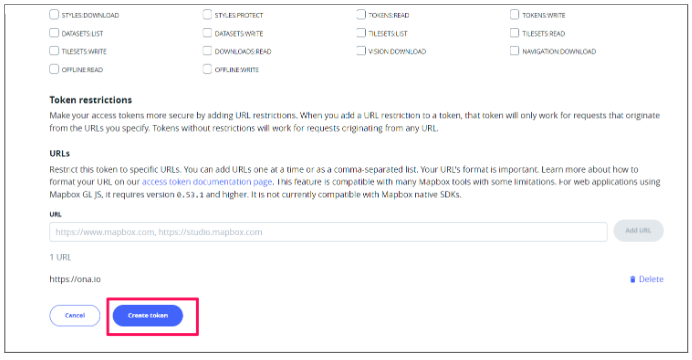
d.) Scroll down to the restriction section, include the URL you want to restrict (i.e https://ona.io), and click on Add URL.
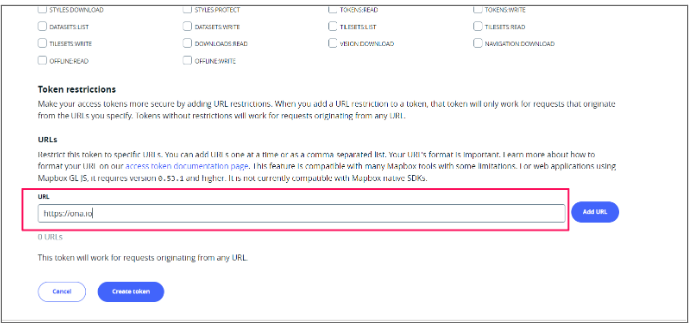
e.) Click on Create token link and confirm your password to save the token
- Name – The name of your basemap. This will be displayed on the list of available maps for your form.
- Attribution – (Optional) Any attribution to the appropriate organization(s) owning the copyright to the basemap. This attribution will appear in the map view.
Save the information entered.
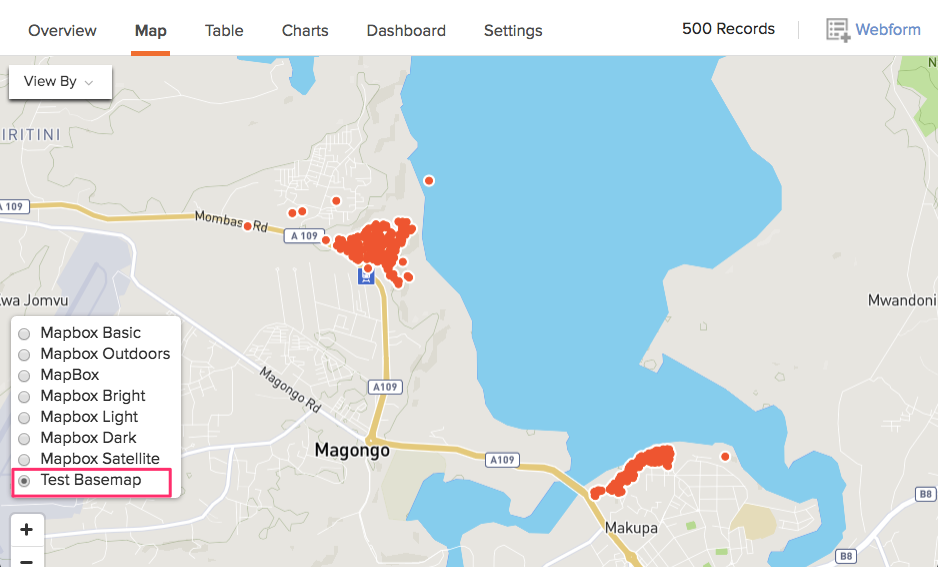
Now that your basemap is linked to your form, you can view it by going to the form’s Map View and selecting the layer button in the bottom left as shown below;
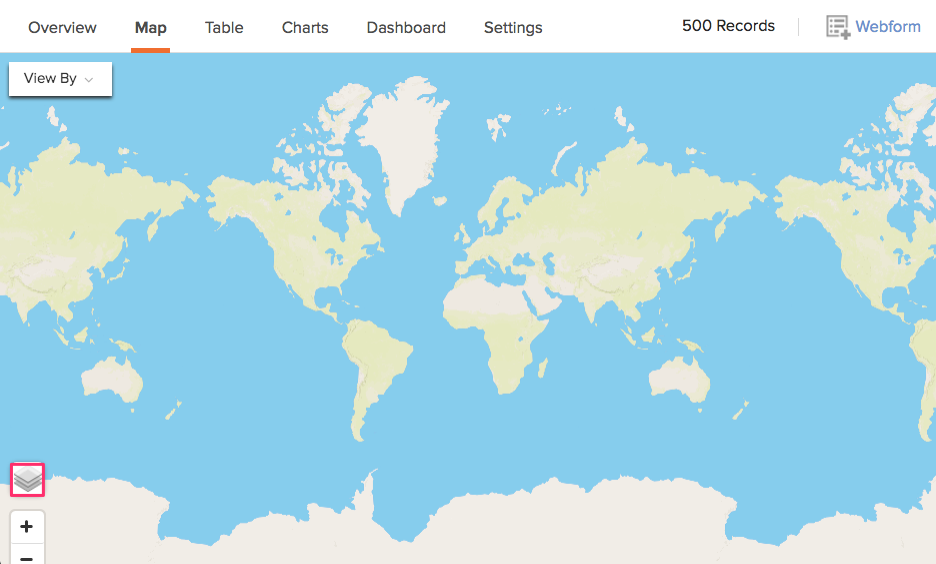
Select your basemap from the list.
Note:
Ona supports vector tiles on all basemaps. Vector tiles are able to deliver large amounts of geographic data in small chunks to a browser or client app. This results in a few key benefits:
- Styling – As vectors, tiles can be styled when requested allowing one to create maps using many styles on global data;
- Size – Vector tiles are small, enabling high resolution maps, faster loading times, and efficient caching; and
- The combination of tile access performance and vector drawing allows the tiles to adapt to any display resolution, which often varies across devices.