If you have previously collected data, creating charts and visualizing them in Ona is easy. The Upload a dataset feature allows you to upload your dataset whether it’s from a digitized paper-based survey, another digital data collection tool, or a public data website; and you can generate an XLSForm, which lets you submit new data, at the same time! Once your data is uploaded to Ona, you can create useful charts and view locations using our maps (if you collected GPS data) making data visualization significantly easier.
Formatting the Dataset
- The dataset must be a CSV file.
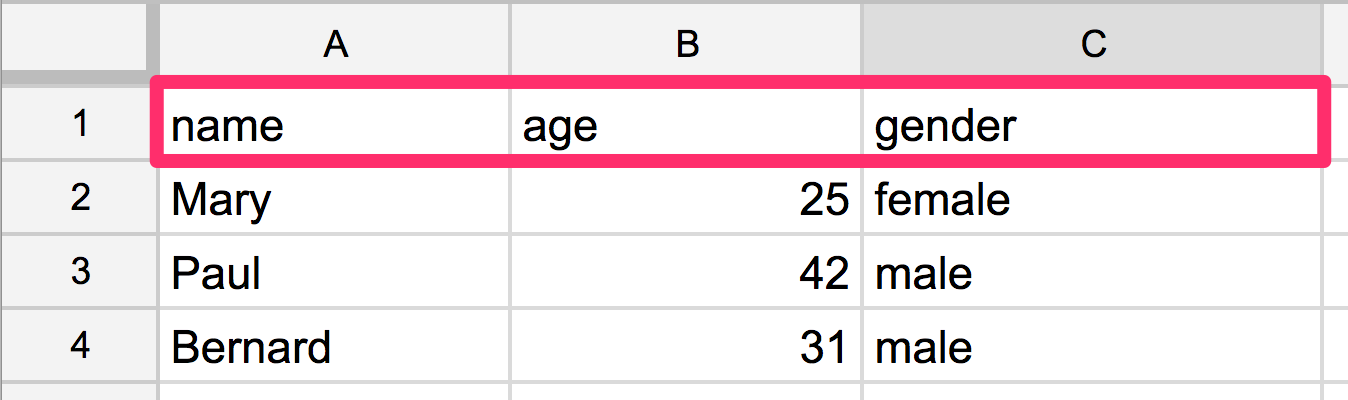
- The first row can contain EITHER:
- column headings, which Ona will change into both the field’s variable name and survey question label (the recommended approach, outlined below in a red box), or
- the first row of data, in which case Ona will assign generic variable names and question labels after upload.
Uploading a Dataset
After formatting your dataset, you can upload the dataset. Navigate to the project where you would like the dataset and generated form to be located. In the project’s home screen, select Upload a dataset.

Then, the Upload a dataset window will appear. In this window, you can click Choose file to upload to select the dataset you wish to upload and use to generate a new form. There is also a checkbox, which when it is checked reads the first data row in the file as labels for variables. By default, this box will always be checked. However, if you do not include column headings in your dataset, you should uncheck this box.

Once you select Choose file to upload, select the CSV file you would like to upload from your computer. The name of the selected CSV file will appear as shown below. Proceed by selecting Upload Selected File.

Assigning Field Types
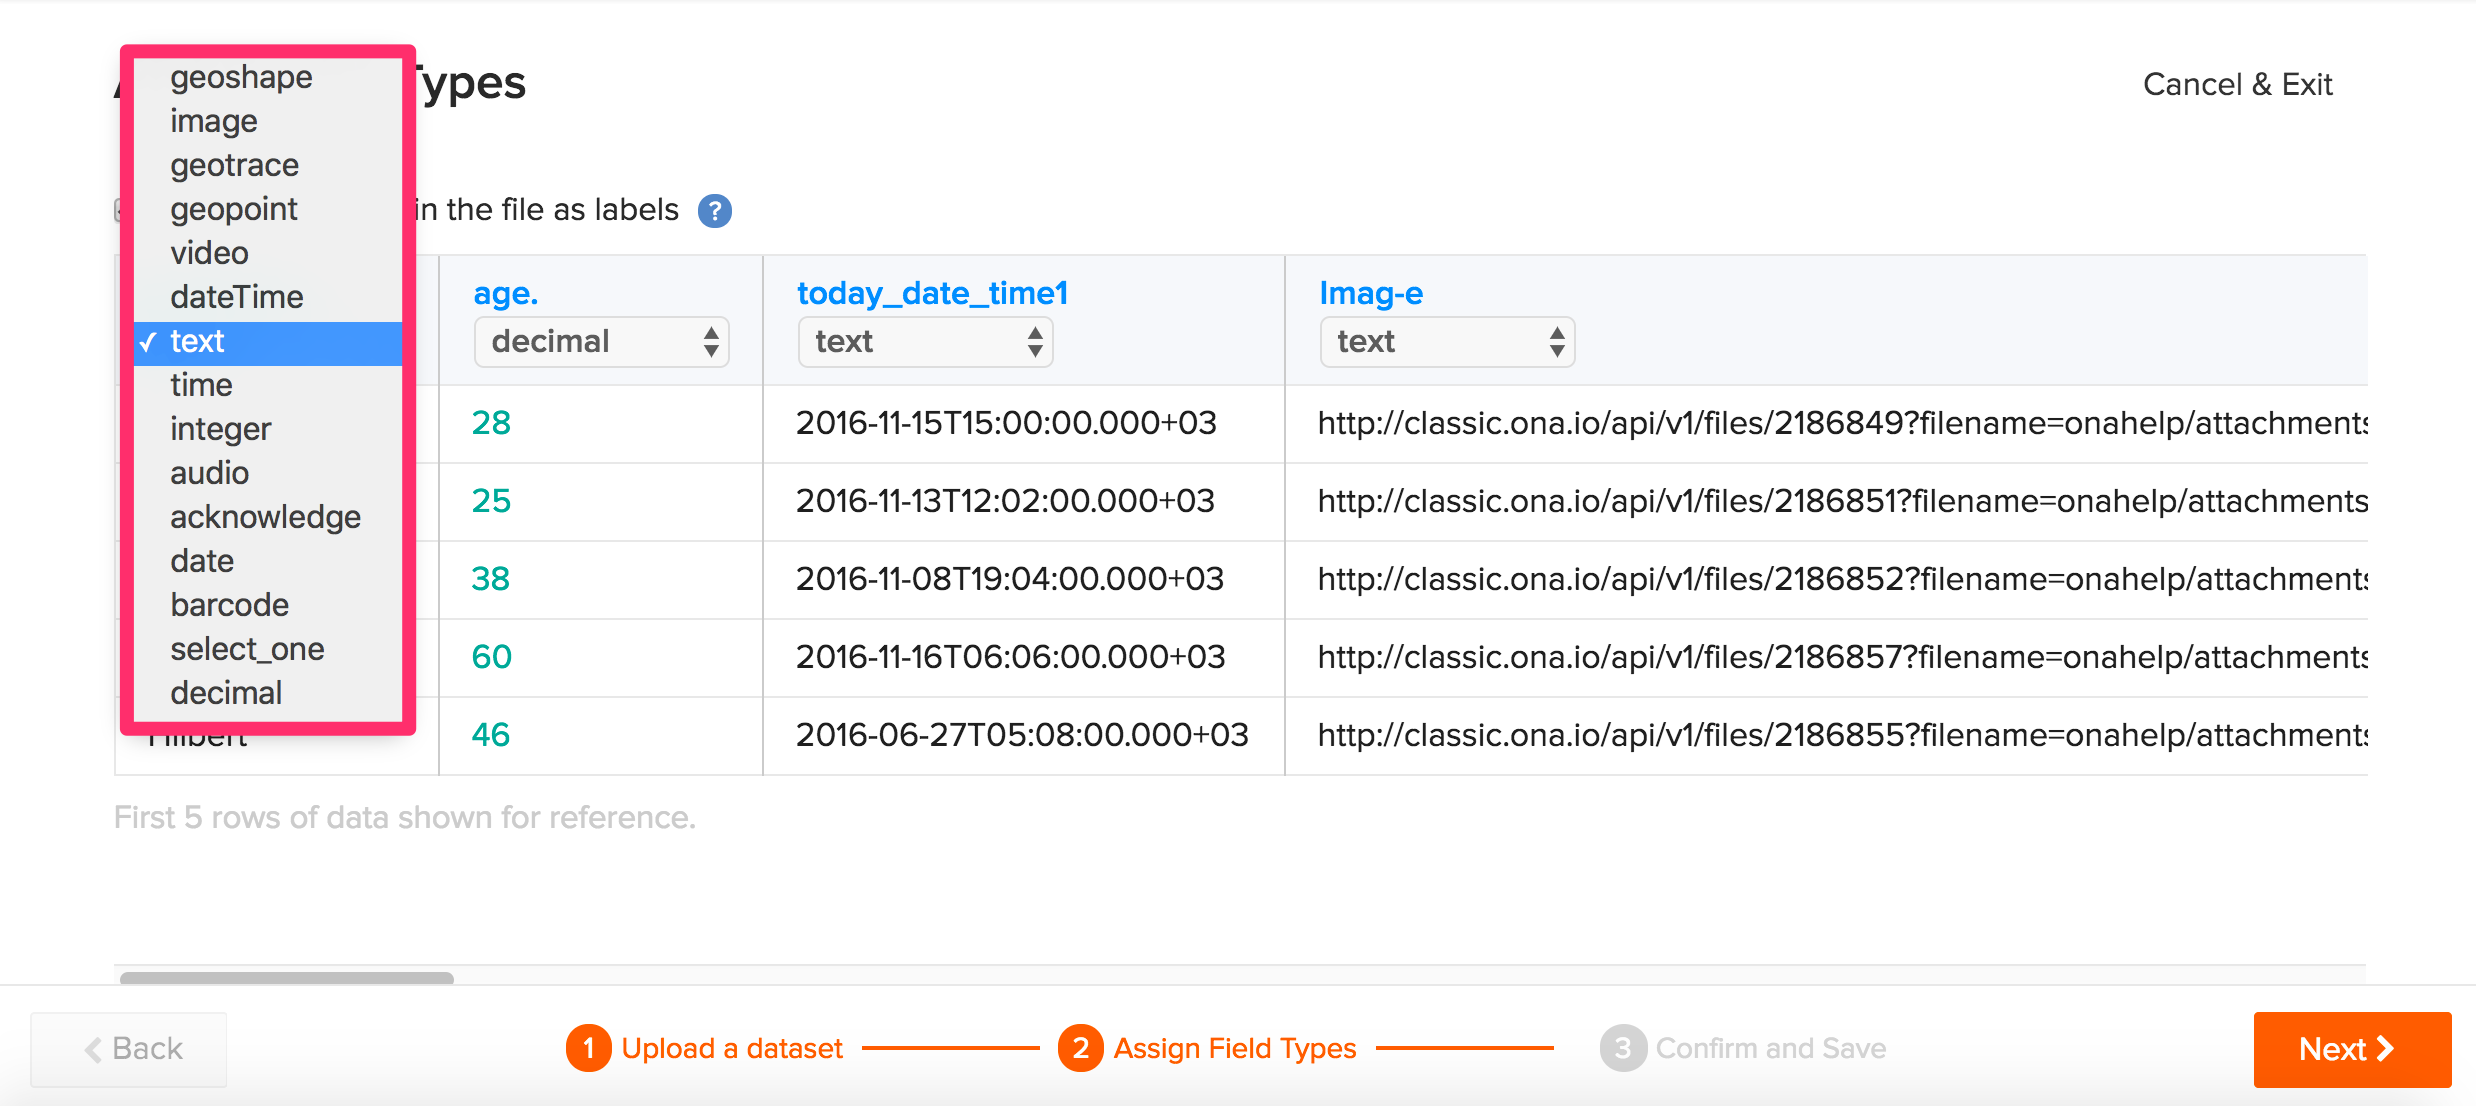
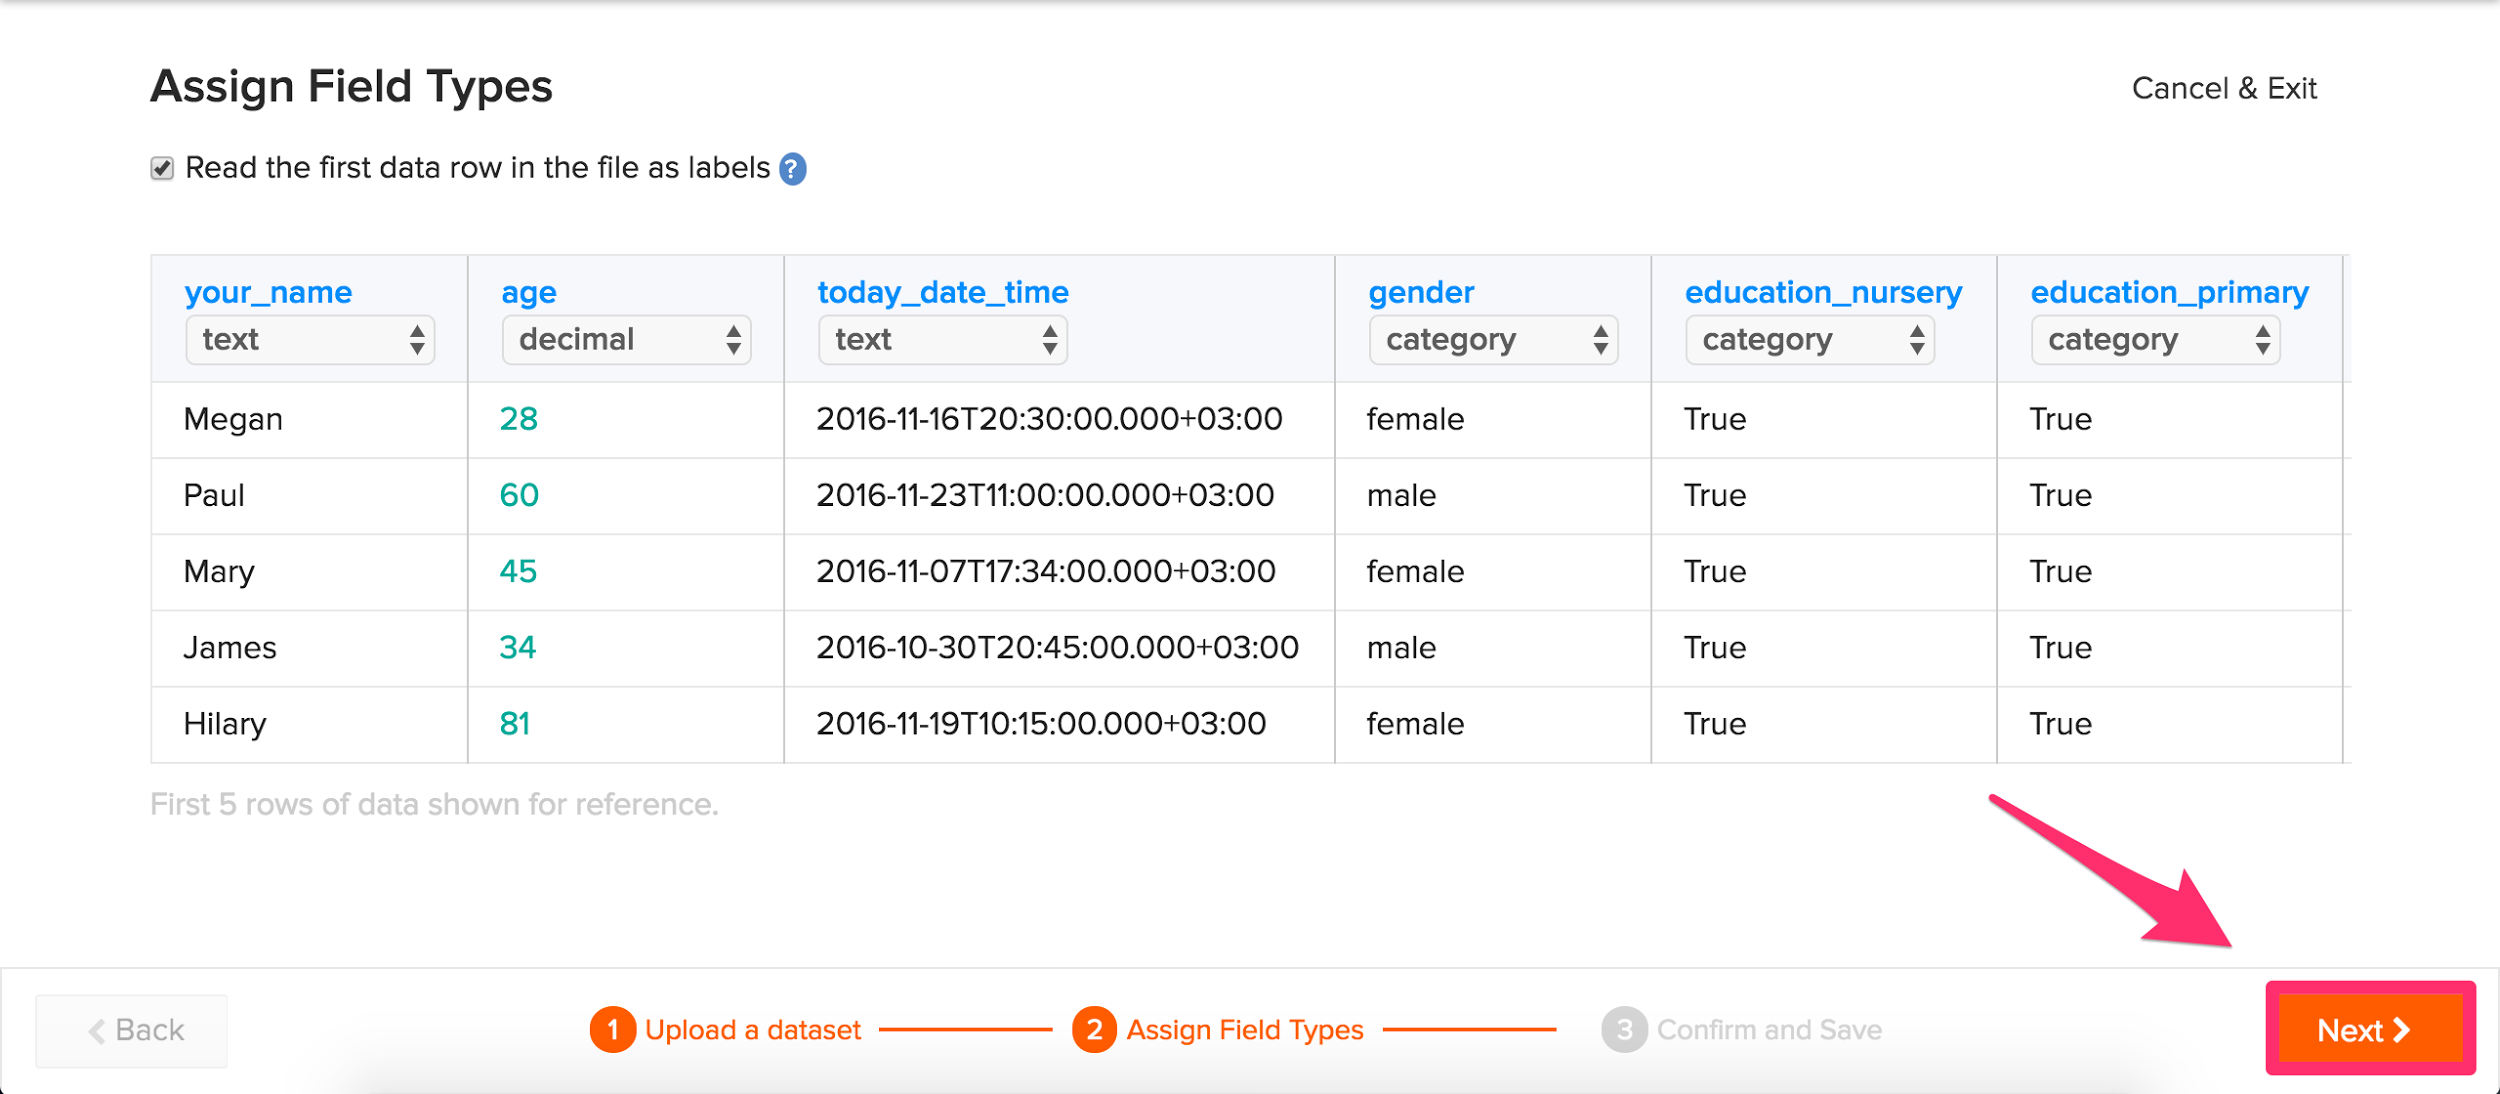
Once the form schema is uploaded, you can assign the field type for each column/each variable. The first five rows of data will appear for reference to help you select the correct field type.

The checkbox to select whether the first data row is read as labels for variables reappears in this step. If you uncheck the box, which you would do if the first row is part of the data, all the variable names will become labeled Column followed by a number (i.e. Column 1, Column 2, Column 3, etc.)

Each column will load with a field type based on the best guess from the Ona platform. If the field type is incorrect, you can change it by clicking on the field type below the variable name/column number and choosing the appropriate field type in the expanded menu. All basic field types are included except select_multiple, note, and calculate fields. You can view all variables/columns in the dataset by scrolling to the right.
Once all columns/variables have the appropriate field type, click Next, in the lower right corner to proceed.
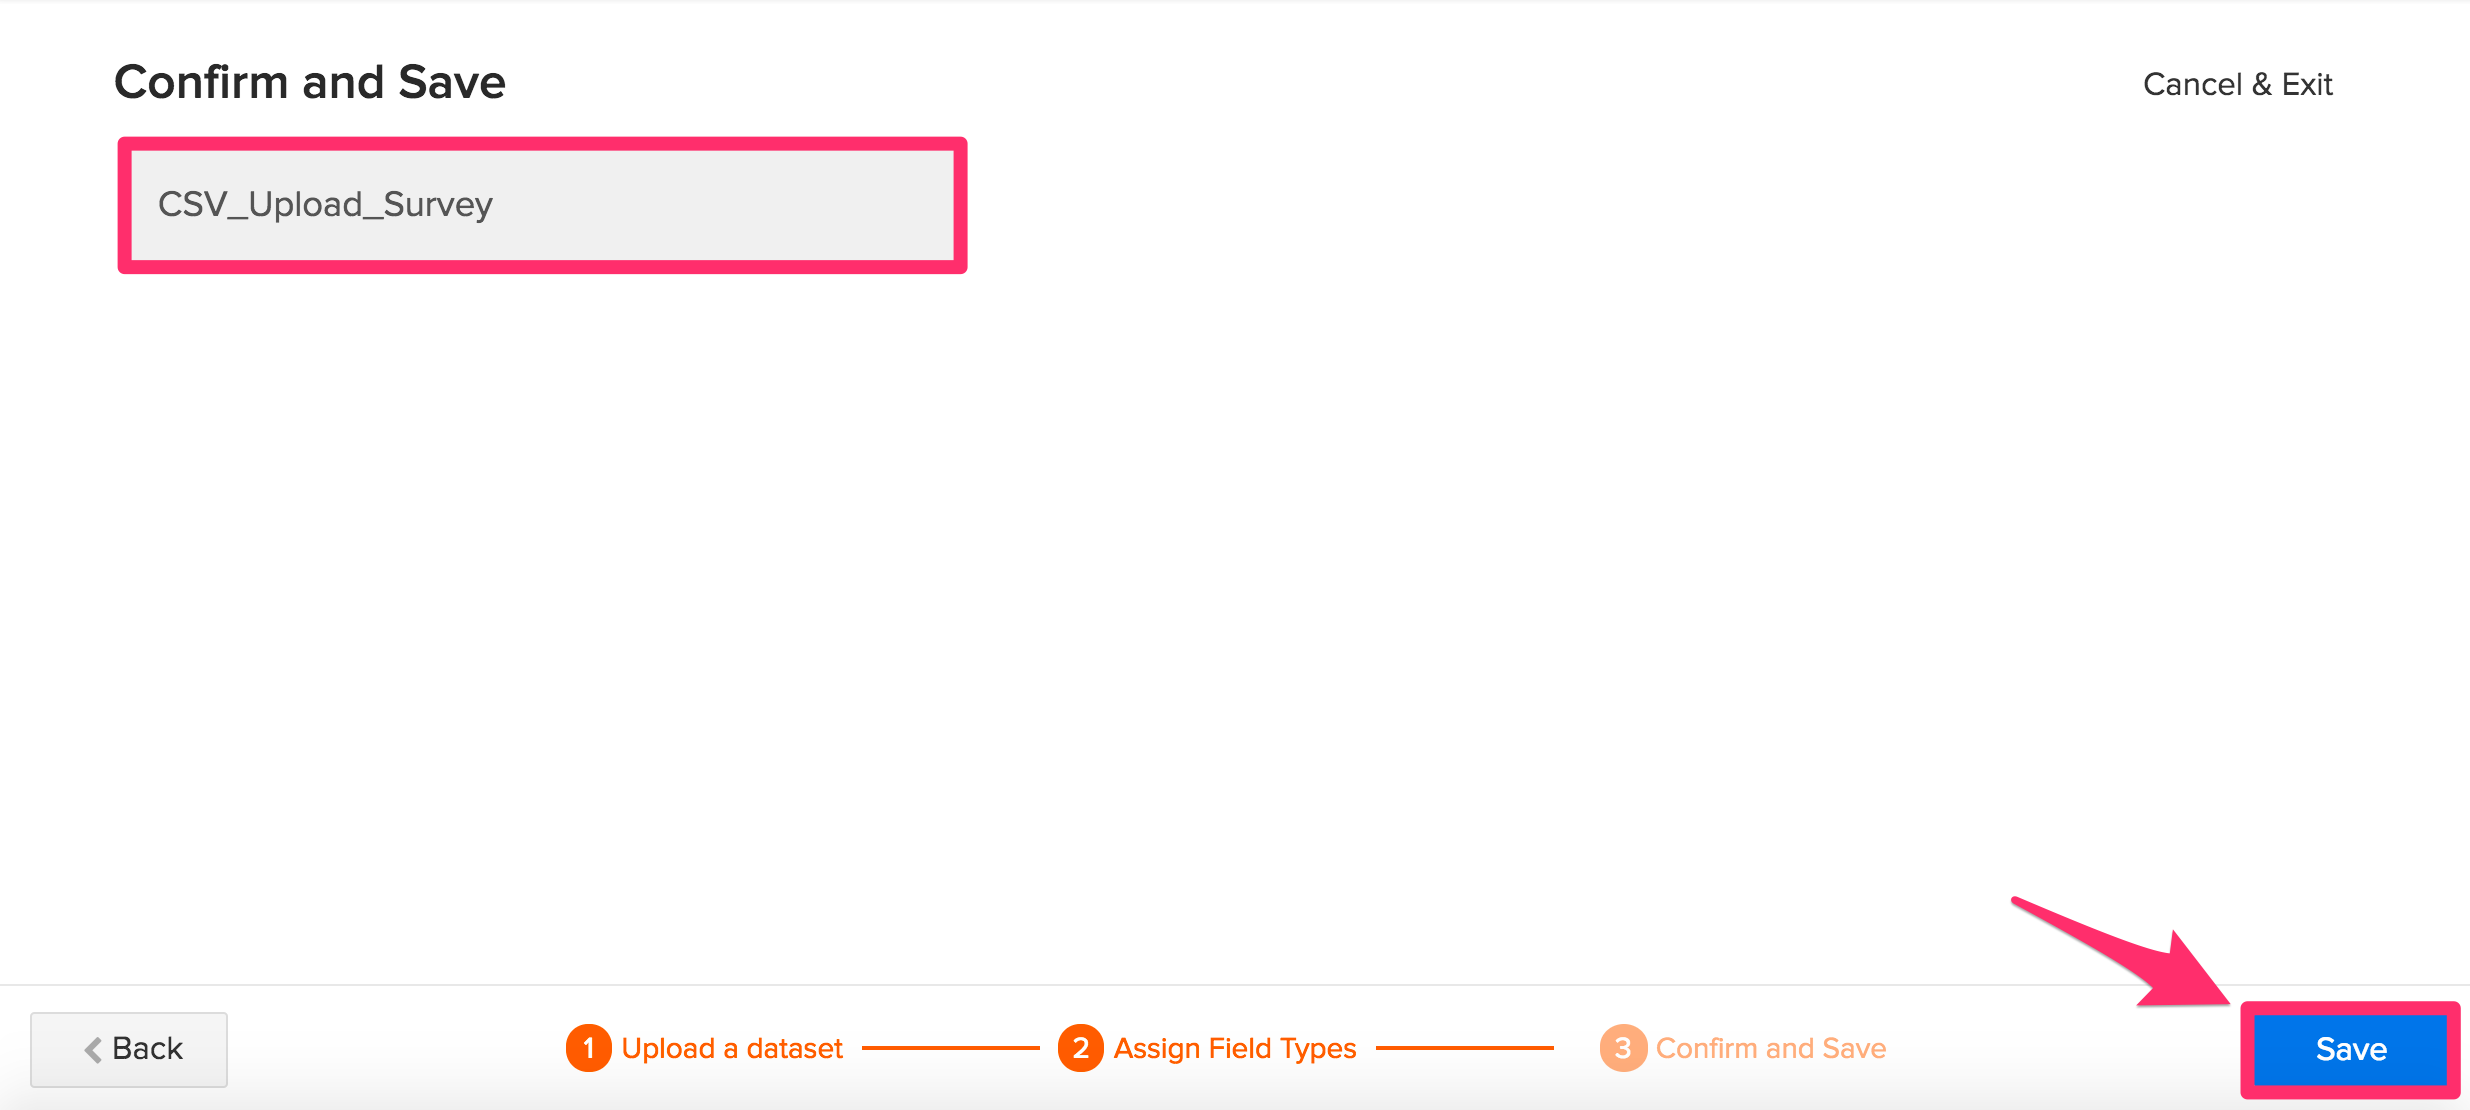
Confirming and Saving the Dataset
In the Confirm and Save window, you can change the form’s name/form ID/filename of the XLSForm, but it cannot contain periods (.) or spaces. The input box will be prefilled with the filename of the uploaded CSV. Once you are satisfied, select Save.
Up to this point, you can always go back to the previous stage by clicking Back. And you can always cancel by selecting Cancel and Exit. However, if you discard the changes, all the changes will be lost.
Once you have saved the form, the form’s page will be created, and the dataset will upload with its associated form.
Things to Remember About Uploading a Dataset
- The XLSForm generated by uploading a dataset is different from an XLSForm you author from scratch:
- Hints, constraints, skip logics, choice filters, repeat groups, calculate fields, and required questions will not be in any XLSForm generated by uploading a dataset.
- If the uploaded dataset CSV file is from a current form on Ona, it will not generate the exact same XLSForm, in part because of some of the reasons listed previously.
- You can download the generated XLSForm, edit and add to the file, and then upload the file to fix problems you have with the previous two points — but at your own risk. There are (certain changes that affect forms with submissions)[https://help.ona.io/faq/replacing-forms-that-have-submissions].
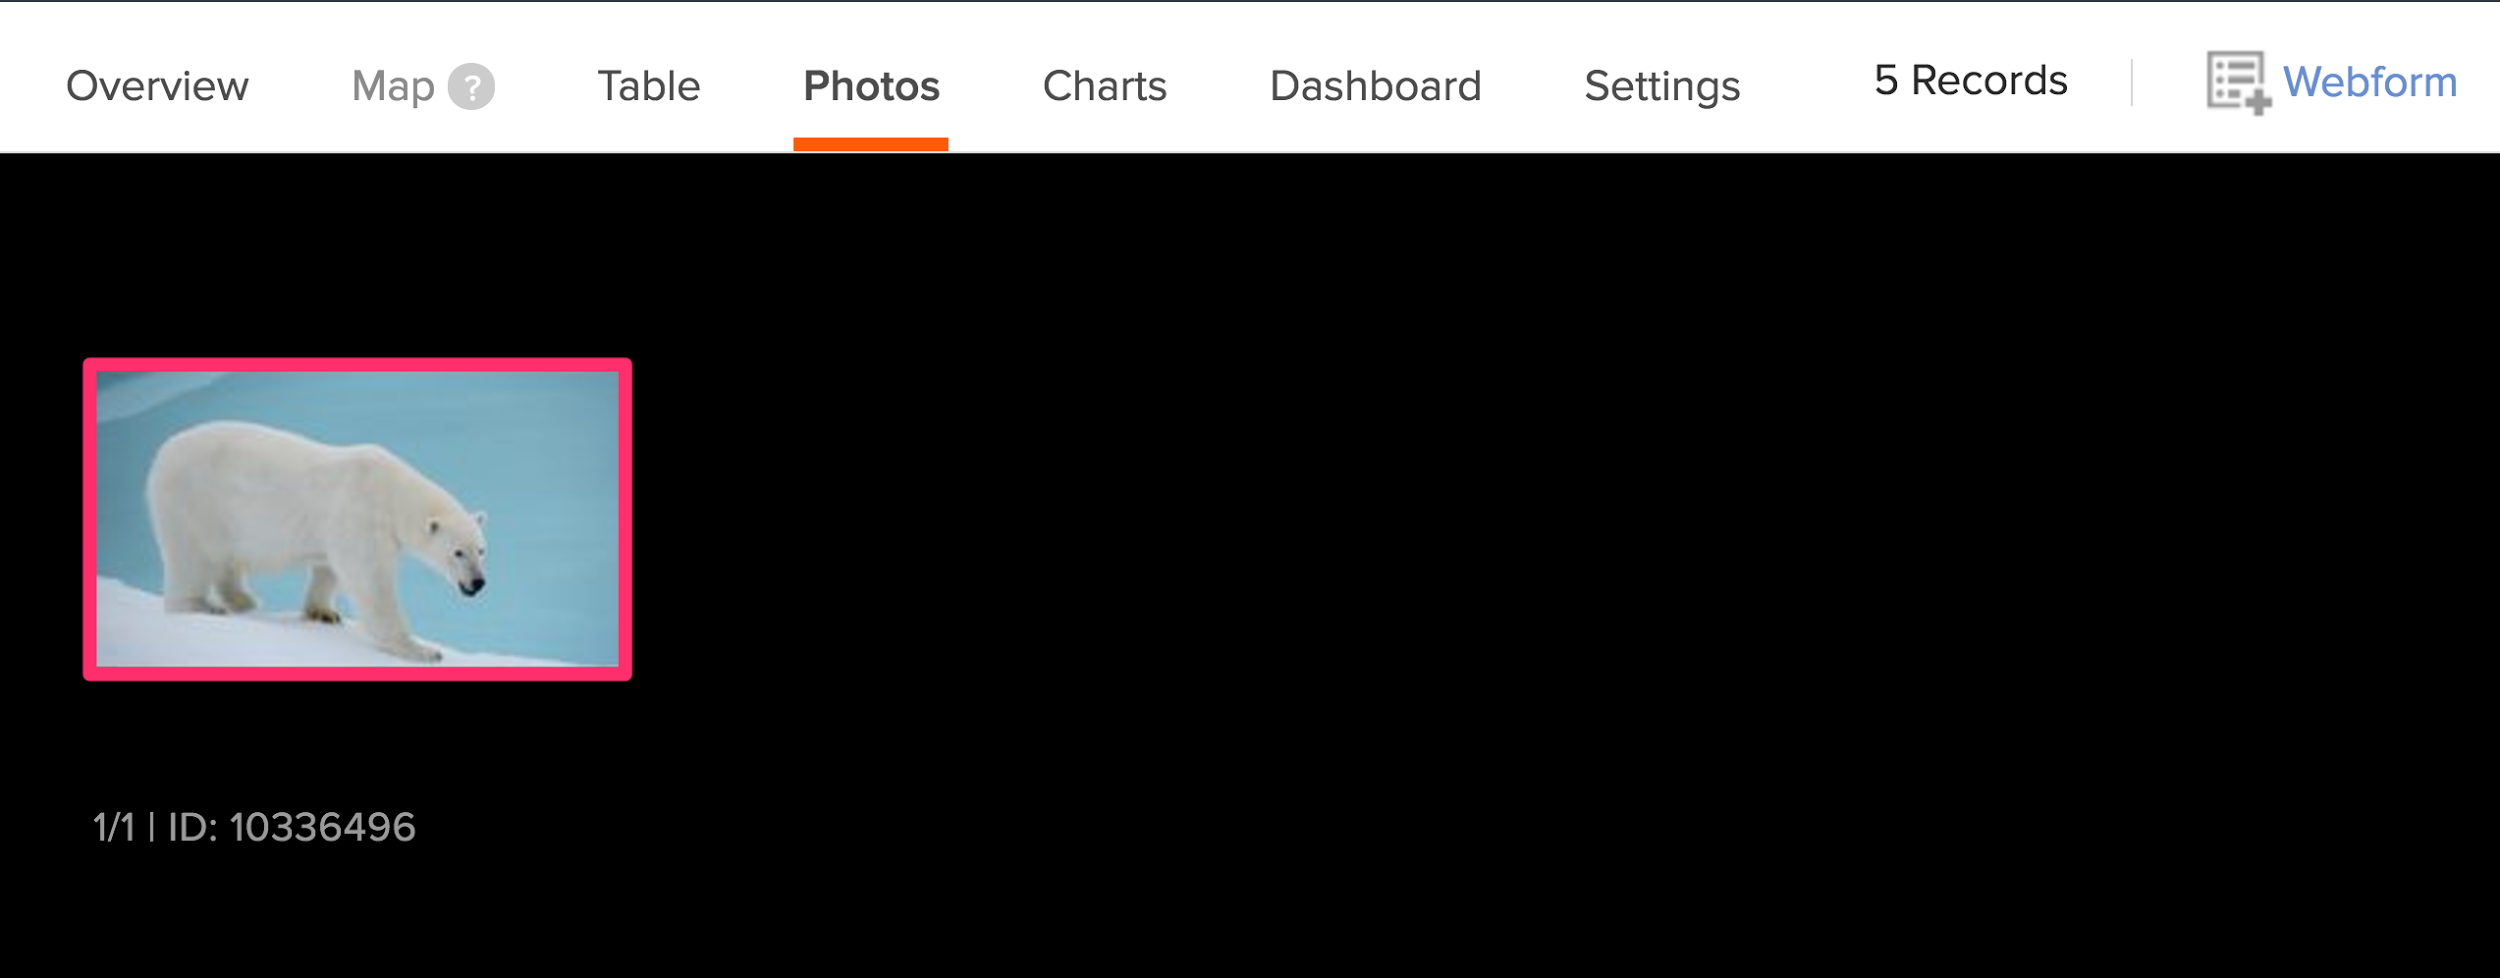
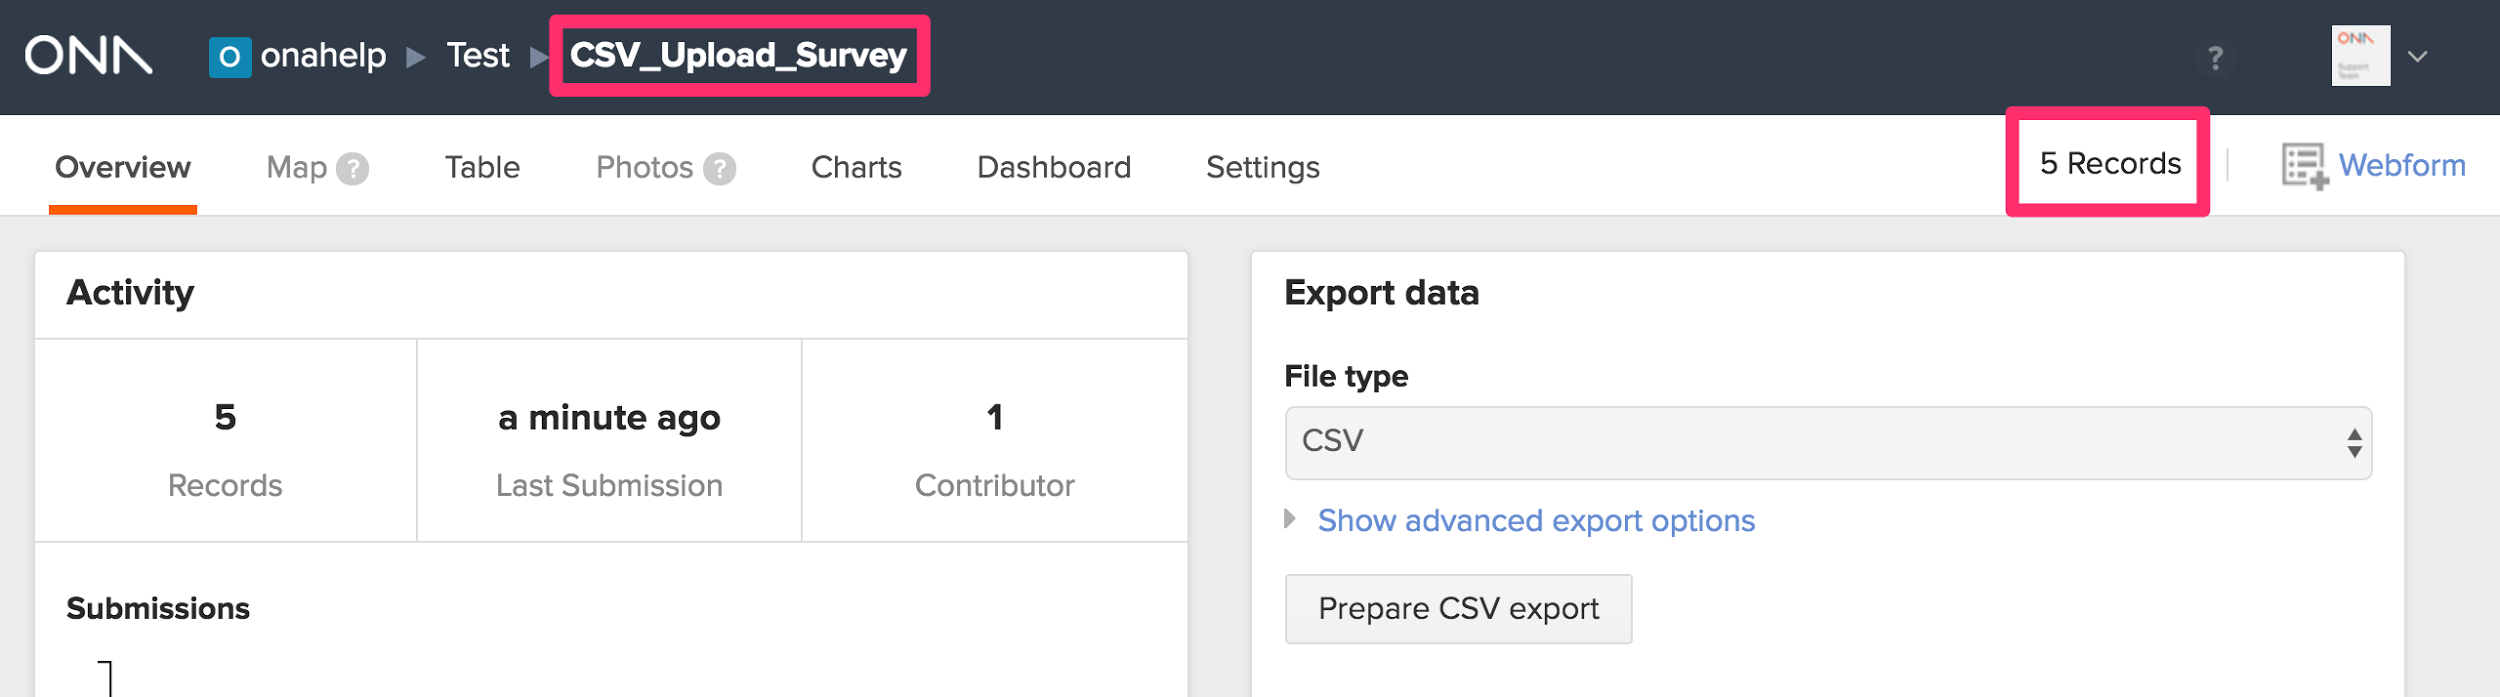
- If the dataset CSV file is large, the records will be loaded in the background. You can refresh the dataset page and check the record number to confirm that all records are uploaded (as shown in the above image with a red box around “5 Records”).
Adding Media Files to the Uploaded Dataset
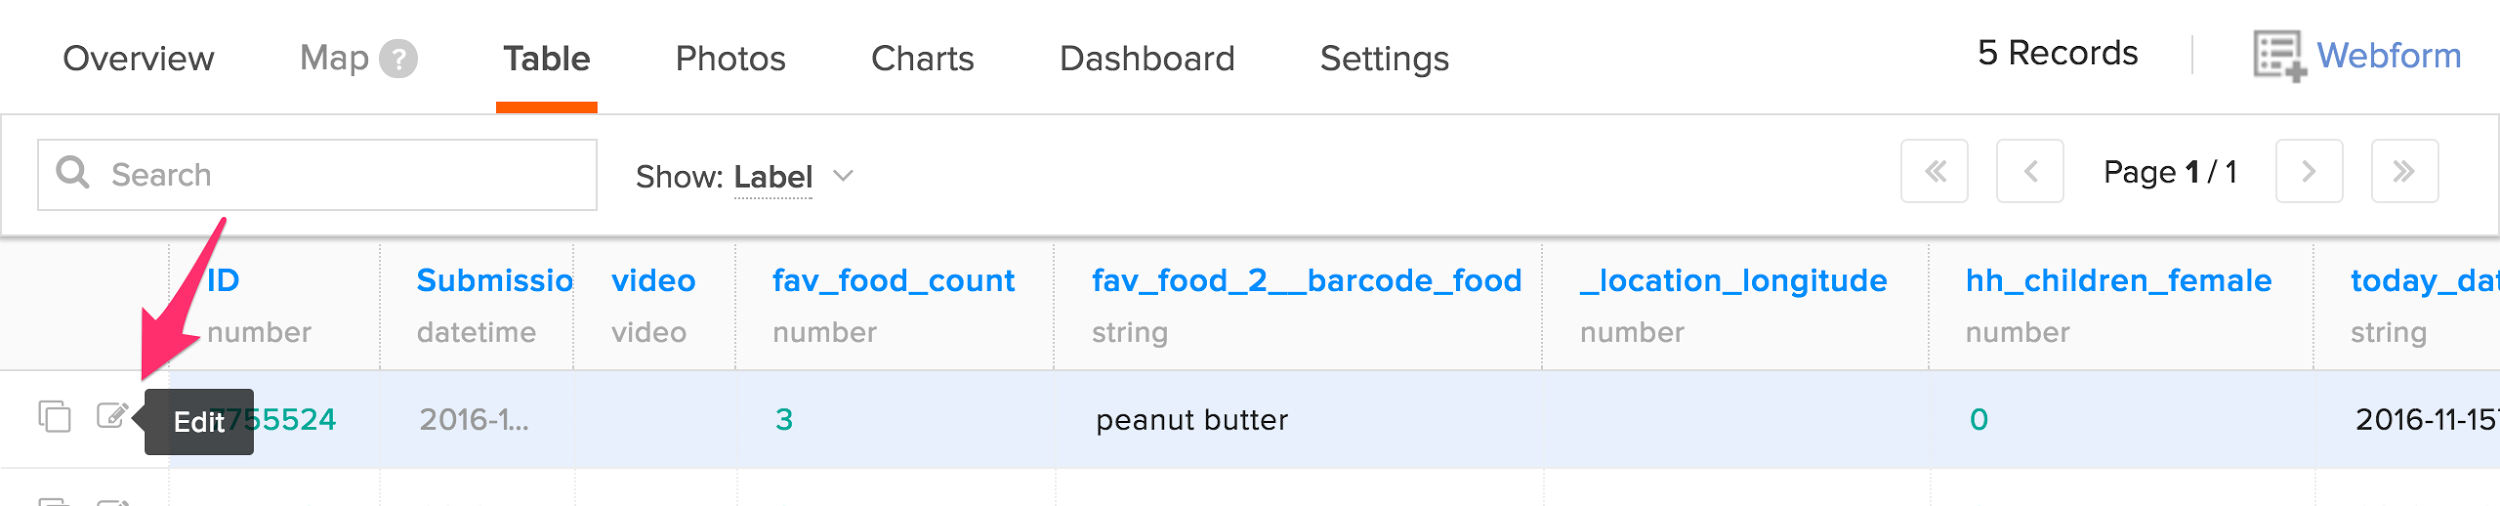
CSV files cannot store media files (images, audio, or video), but only URL links to the data files. If you included any image, audio, or video fields and included a column for each field type while assigning them, you will have to manually edit each record and re-attach the media file. To edit a record, go to the Table view of your form. Next to the Record ID you want to edit, select the edit icon as seen below.
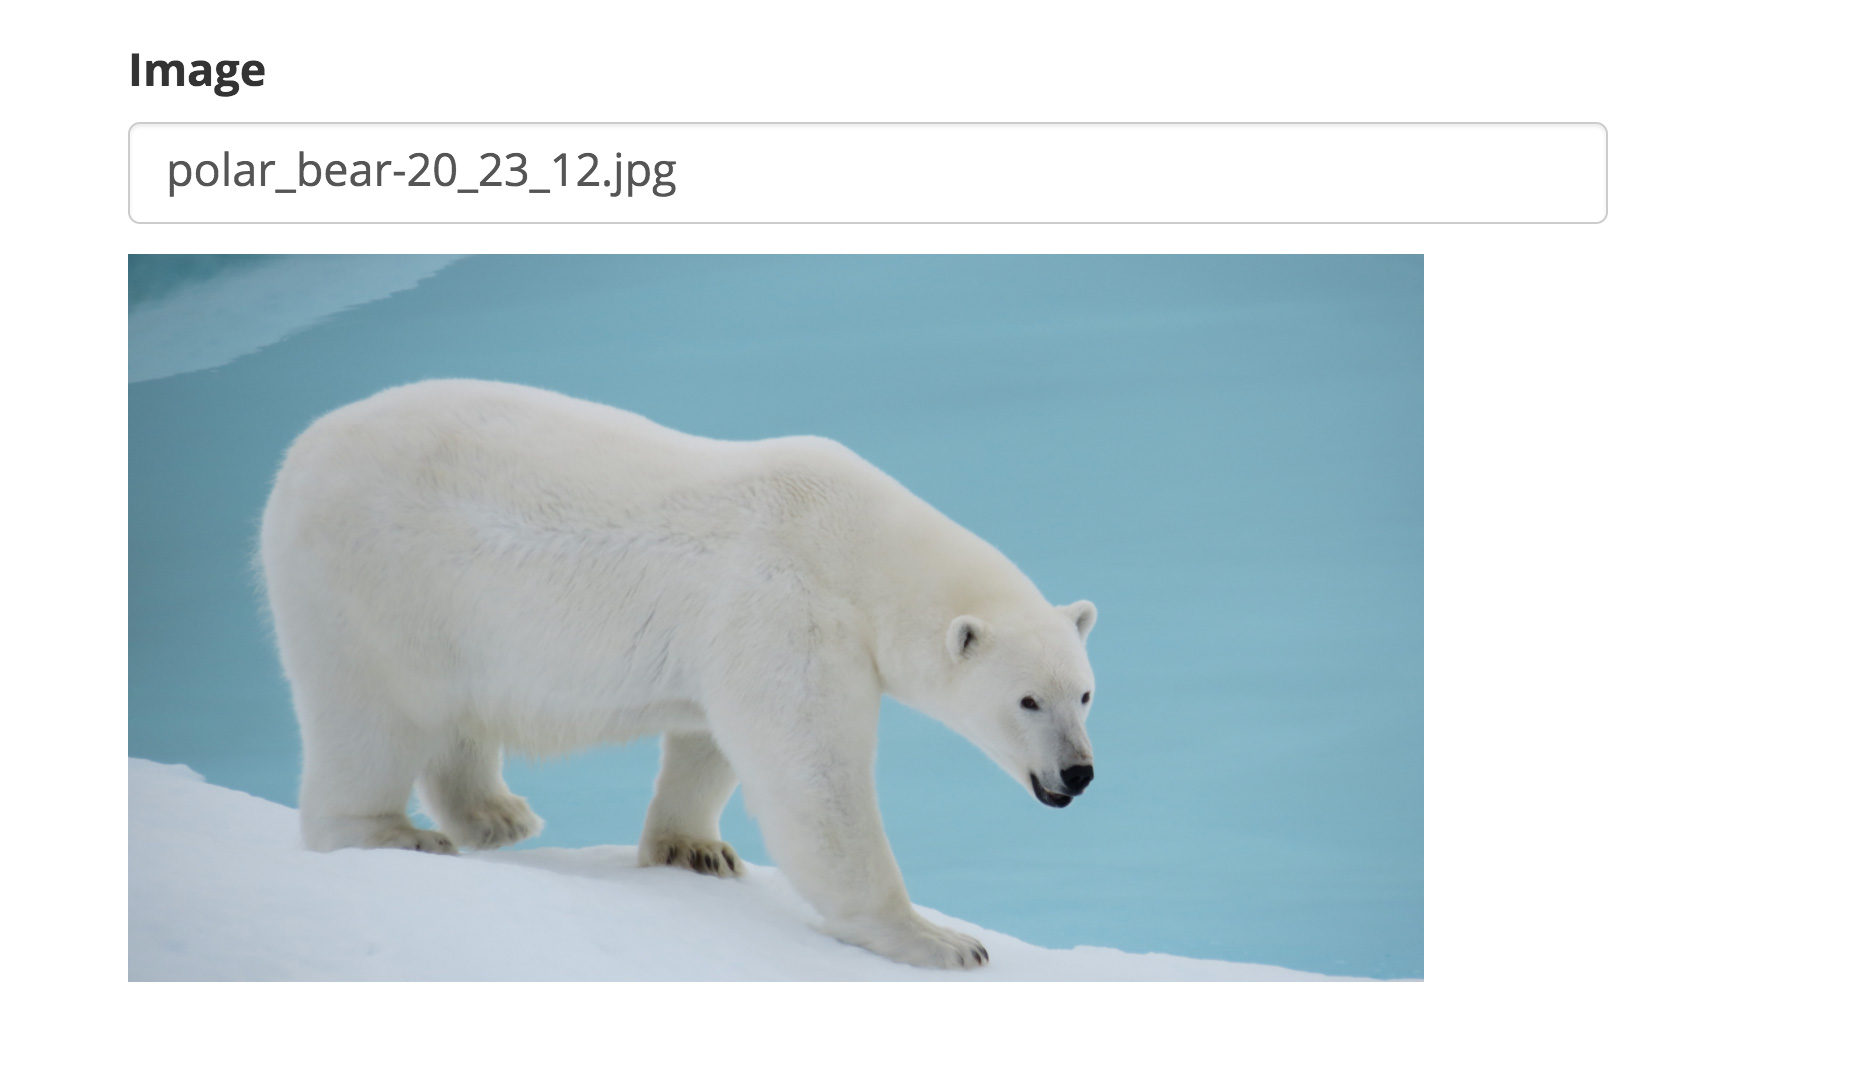
This will launch the form in Enketo where you can edit your data. Navigate to the question you want to add a media file (e.g. a photo in an image field). Click on the space beneath the field name/label and select the media file to attach from your computer.

Once attached, the red error message will disappear and the media file will appear as seen below.
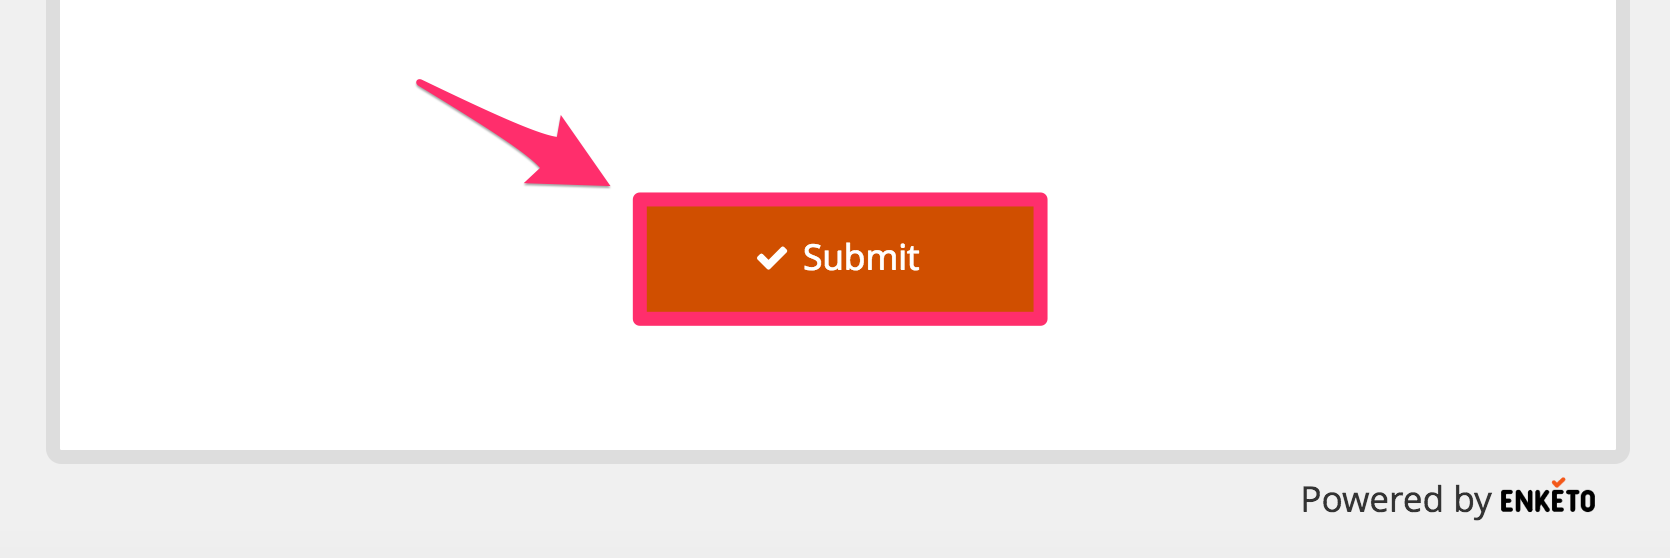
Then, select Submit to save your changes resulting in a pop-up stating the submission was successful.
For photos, once the records have been edited to include an image, the photos will be displayed in the Photo tab.